
Pressure Cooker Vanilla Cake is one of those recipes I rely on when I want a soft, fragrant cake without turning on the oven. My pressure cooker transforms into a compact baking chamber, producing a moist vanilla cake with a tender crumb and lightly golden exterior. The process feels practical and satisfying, especially when oven space is limited or unavailable.
I enjoy how dependable this method is once I understand the heat control. The enclosed environment of the pressure cooker creates steady, even warmth that allows the cake to rise gently. With proper preparation and patient cooking, the result is a fluffy vanilla cake that slices beautifully and tastes just as good as oven-baked versions.
This cake is lightly sweet with a warm vanilla aroma. The texture is soft but structured enough to hold frosting or fruit toppings. It works for birthdays, tea-time gatherings, or simple dessert cravings.
Ingredients You Will Need
I measure everything carefully before starting because cakes depend on accurate ratios. Proper preparation makes the cooking process smooth and stress-free.
1 1/2 cups all-purpose flour
1 cup granulated sugar
1 1/2 teaspoons baking powder
1/2 teaspoon baking soda
1/4 teaspoon salt
2 large eggs, at room temperature
1/2 cup whole milk, at room temperature
1/2 cup vegetable oil
1 tablespoon melted butter
1 tablespoon pure vanilla extract
2 tablespoons plain yogurt
The flour builds structure, while baking powder and baking soda provide lift. Oil ensures moisture, and a small amount of butter enhances flavor. Yogurt adds softness and helps create a tender crumb.
Preparing The Pressure Cooker For Baking
I begin by removing the rubber gasket and whistle from the pressure cooker lid. Baking requires dry heat rather than steam pressure, so I never seal the cooker the way I would for regular cooking.
Next, I place a metal trivet or stand inside the cooker. This prevents direct contact between the cake pan and the base, ensuring even heat distribution.
To create an oven-like environment, I add a layer of salt or sand about one inch thick at the bottom of the cooker. This acts as a heat buffer and helps prevent burning. I preheat the empty cooker with the lid on over medium-low heat for about 8 to 10 minutes.
Preparing The Cake Pan
While the cooker preheats, I grease a 7-inch round cake pan with butter or oil. I line the bottom with parchment paper for easy removal.
The pan should fit comfortably inside the pressure cooker without touching the sides. Adequate space allows heat to circulate evenly around the cake.
Mixing The Dry Ingredients
In a large mixing bowl, I whisk together flour, baking powder, baking soda, and salt. Whisking evenly distributes the leavening agents and prevents uneven rising.
I make sure there are no lumps in the flour before moving to the wet ingredients. A smooth dry mixture contributes to a fine, tender crumb.
Combining The Wet Ingredients
In another bowl, I beat the eggs and sugar together until pale and slightly thick. This step helps dissolve the sugar and incorporate a bit of air.
I add oil, melted butter, vanilla extract, milk, and yogurt. I whisk until the mixture becomes smooth and fully blended.
The yogurt provides subtle tang and softness without overpowering the vanilla flavor.
Bringing The Batter Together
I gradually add the dry ingredients to the wet mixture. Using a spatula, I fold gently until just combined.
Overmixing can make the cake dense, so I stop once no visible flour streaks remain. The batter should be smooth and slightly thick but still pourable.
If it feels too thick, I add one tablespoon of milk to loosen it slightly.
Pouring The Batter Into The Pan
I pour the batter into the prepared cake pan and smooth the top with a spatula. Tapping the pan lightly on the counter releases trapped air bubbles.
An even surface ensures uniform baking. I make sure the batter level is consistent before placing the pan into the cooker.
Baking Inside The Pressure Cooker
Using tongs, I carefully place the cake pan onto the trivet inside the preheated cooker. I cover it with the lid without the gasket and whistle.
I bake the cake on low heat for about 35 to 45 minutes. Cooking time may vary slightly depending on the cooker size and heat intensity.
After 35 minutes, I check for doneness by inserting a toothpick into the center. If it comes out clean or with a few dry crumbs, the cake is ready. If not, I continue baking for 5 to 10 more minutes.
Maintaining low, steady heat prevents the bottom from browning too quickly.
Cooling The Cake
Once baked, I turn off the heat and let the cake rest inside the cooker for about 5 minutes. Then I carefully remove the pan and place it on a wire rack.
I allow the cake to cool in the pan for 10 to 15 minutes before loosening the edges with a knife. After inverting it onto a plate, I remove the parchment paper and let it cool completely.
Cooling fully helps the crumb set properly and makes slicing easier.
Texture And Flavor Profile
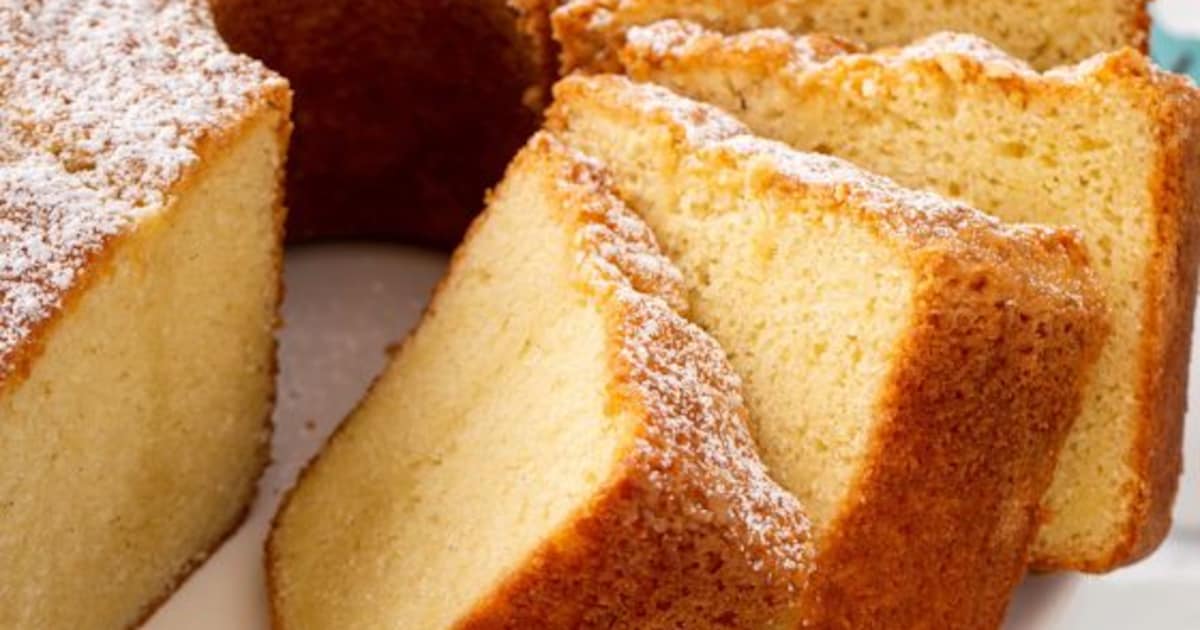
Pressure Cooker Vanilla Cake has a soft, moist crumb with a gentle vanilla aroma. The texture is tender without being crumbly.
The top remains pale compared to oven-baked cakes because there is no direct top heat. The base develops a light golden crust from contact with the heated pan.
Each slice feels light yet satisfying, making it ideal for layering or simple serving.
Simple Vanilla Glaze
For a quick finish, I mix powdered sugar with a small amount of milk and a drop of vanilla extract. The glaze should be smooth and slightly thick.
I drizzle it over the cooled cake and allow it to set naturally. The glaze adds sweetness and a decorative touch without overpowering the vanilla base.
Turning It Into A Celebration Cake
If I want a layered cake, I double the recipe and bake two separate layers. Once cooled, I spread whipped cream or buttercream between them.
Fresh fruit such as strawberries or sliced peaches pairs beautifully with vanilla cake. The light crumb absorbs flavors while maintaining structure.
I sometimes tint the frosting with natural food coloring for birthdays or special occasions.
Flavor Variations
Adding lemon zest brightens the cake and enhances its fragrance. A teaspoon of almond extract can replace part of the vanilla for a subtle nutty note.
For a chocolate version, I substitute 1/4 cup of flour with cocoa powder and add two tablespoons of milk. This creates a moist chocolate cake using the same method.
Mixing in chopped nuts or chocolate chips adds texture and variety.
Common Mistakes To Avoid
Sealing the pressure cooker with the gasket can create unwanted steam and alter the texture. Always bake without pressure.
Using high heat can burn the bottom before the center cooks. Low and steady heat ensures even baking.
Opening the lid too frequently releases heat and prolongs cooking time. I check only when necessary.
Storage And Shelf Life
Once cooled completely, I store the cake in an airtight container at room temperature for up to two days. Refrigeration extends freshness to about four days.
Before serving refrigerated slices, I allow them to come to room temperature. This restores softness and enhances flavor.
The cake can be frozen for up to two months if wrapped tightly. I thaw it naturally before frosting or serving.
Serving Suggestions
I often dust the cake lightly with powdered sugar for a simple presentation. Fresh berries add color and brightness.
Serving slices with whipped cream makes it feel more indulgent without overpowering the vanilla flavor. A scoop of vanilla ice cream also pairs beautifully.
This cake works well as a base for trifles or layered desserts. Its soft crumb absorbs syrups and creams easily.
Why This Method Works
The layer of salt or sand distributes heat evenly inside the cooker. The trivet prevents direct contact with the base, reducing burning risk.
Baking without pressure creates a dry heat environment similar to an oven. Balanced leavening agents ensure the cake rises properly despite the enclosed space.
Careful temperature control and gentle mixing result in a dependable, moist vanilla cake.
Final Thoughts
Pressure Cooker Vanilla Cake proves that an oven is not the only way to bake a soft and flavorful dessert. With proper setup and patient cooking, the pressure cooker becomes a reliable baking tool.
By following each step carefully, you can create a moist vanilla cake with tender crumb and rich aroma. This method offers flexibility and convenience while delivering satisfying results that feel homemade and comforting.