
One-Pan Yogurt Cake Recipe is the kind of dependable bake I rely on when I want something soft, moist, and comforting without pulling out half the kitchen equipment. Everything comes together in a single pan, which means less cleanup and a smoother process from start to finish. The yogurt gives the cake a delicate tang and a tender crumb that stays moist for days, while the simple method keeps it approachable for any skill level.
I make this cake when I want a reliable base that works for breakfast, dessert, or an afternoon snack. It is subtly sweet, lightly golden on top, and incredibly soft inside. With precise measurements and clear steps, you can read this once and bake confidently without confusion.
Ingredients You Will Need
I always measure everything before starting because this recipe moves quickly once the wet and dry ingredients meet. Accurate measurements guarantee a balanced texture and proper rise.
1 cup plain whole-milk yogurt, at room temperature
3/4 cup granulated sugar
1/2 cup vegetable oil
3 large eggs, at room temperature
1 tablespoon pure vanilla extract
2 cups all-purpose flour
2 teaspoons baking powder
1/4 teaspoon baking soda
1/2 teaspoon salt
1 tablespoon lemon zest (optional but recommended)
Optional topping:
2 tablespoons coarse sugar for sprinkling
Powdered sugar for dusting after baking
The yogurt provides moisture and subtle tang. Oil ensures tenderness without heaviness, while eggs build structure and richness. Baking powder and baking soda work together to create lift and softness.
Preparing The Pan And Oven
I preheat the oven to 180°C (350°F) before mixing the batter. A properly heated oven ensures even rising and prevents a dense center.
For this One-Pan Yogurt Cake Recipe, I use a standard 9-inch round cake pan or an 8-inch square pan. I lightly grease the pan with oil or butter, then line the bottom with parchment paper. This simple step guarantees easy removal after baking and keeps the edges from sticking.
Mixing The Wet Ingredients
Because this is a one-pan recipe, I start by mixing directly in the baking pan if it is deep enough, or in a large mixing bowl that I later pour into the pan. I first add the yogurt, sugar, and eggs.
Using a whisk, I blend them together until smooth and slightly pale. The sugar begins dissolving into the yogurt, creating a creamy mixture. I then pour in the vegetable oil and vanilla extract, whisking until fully incorporated.
If I am using lemon zest, I add it at this stage. The zest releases its fragrance as it mixes, adding brightness to the batter without overpowering the flavor.
Incorporating The Dry Ingredients
Once the wet mixture is smooth, I add the flour, baking powder, baking soda, and salt directly into the same pan or bowl. I sprinkle them evenly across the surface before mixing.
Using a spatula or whisk, I gently fold the dry ingredients into the wet mixture. I mix just until no streaks of flour remain visible. Overmixing can make the cake tough, so I stop as soon as the batter looks uniform.
The batter should be smooth, slightly thick, and easy to spread. If it feels too thick, I add one tablespoon of milk to loosen it slightly.
Pouring And Leveling The Batter
If I mixed in a separate bowl, I now pour the batter into the prepared pan. I use a spatula to spread it evenly, smoothing the top gently.
For a slightly crisp finish, I sprinkle a small amount of coarse sugar on top before baking. This creates a subtle crunch that contrasts beautifully with the soft interior.
I tap the pan lightly on the counter to release any trapped air bubbles. This helps the cake bake evenly and prevents large holes in the crumb.
Baking The Cake
I place the pan in the center of the preheated oven. The cake bakes for approximately 35 to 45 minutes, depending on the pan size and oven performance.
At around 35 minutes, I check for doneness by inserting a toothpick into the center. If it comes out clean or with a few dry crumbs, the cake is ready. If wet batter clings to the toothpick, I continue baking in five-minute intervals.
The top should be lightly golden, and the edges may pull slightly away from the pan. The aroma of vanilla and yogurt fills the kitchen as it finishes baking.
Cooling And Removing From The Pan
After removing the cake from the oven, I let it cool in the pan for about 10 to 15 minutes. This resting time allows the structure to firm up.
I run a knife gently around the edges, then invert the cake onto a wire rack. After peeling off the parchment paper, I allow it to cool completely before slicing.
The crumb sets beautifully as it cools, becoming tender and easy to cut without crumbling excessively.
Texture And Flavor Profile
This One-Pan Yogurt Cake Recipe produces a soft, moist crumb with a subtle tang from the yogurt. The oil ensures that the cake stays tender for several days without drying out.
The flavor is balanced and versatile. Vanilla provides warmth, while the yogurt adds gentle acidity that keeps the sweetness from feeling heavy.
If lemon zest is included, the cake gains a light citrus brightness that complements the tangy base. The result is comforting yet refined.
Optional Glaze Or Toppings
I sometimes drizzle a simple glaze over the cooled cake. Mixing powdered sugar with a tablespoon or two of lemon juice creates a smooth topping that adds extra sweetness and shine.
For a fruit variation, I serve slices with fresh berries and lightly whipped cream. The cake’s neutral flavor pairs well with seasonal fruit.
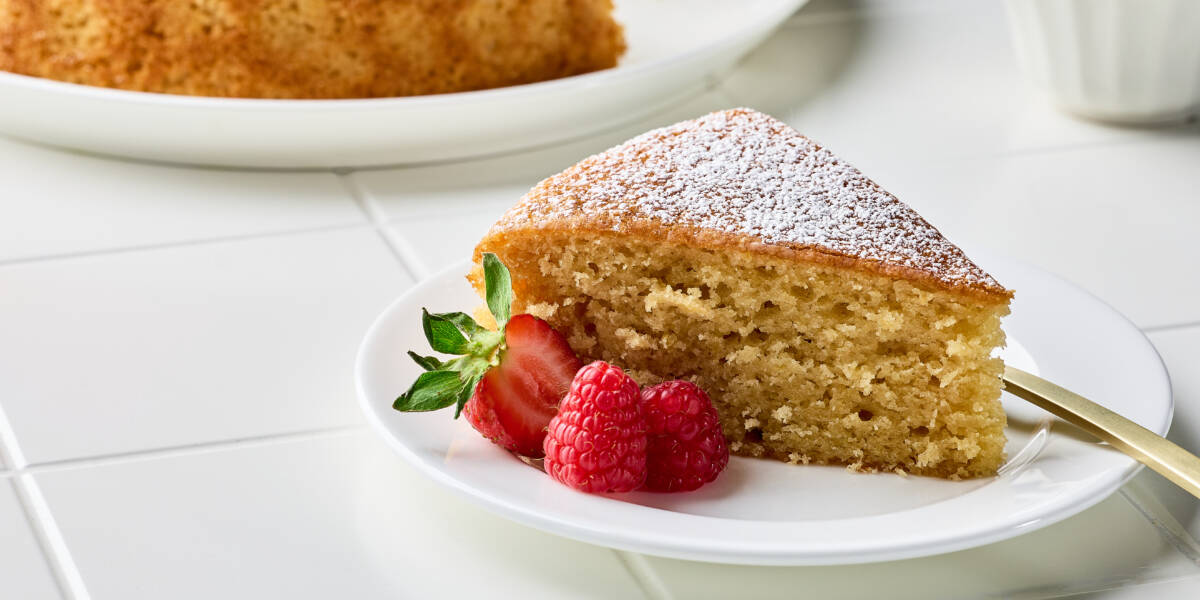
A dusting of powdered sugar keeps the presentation simple and elegant. It highlights the golden surface without masking the natural flavor.
Flavor Variations
This recipe adapts easily to different flavors. I sometimes add a teaspoon of almond extract in place of vanilla for a slightly nutty aroma.
For a chocolate version, I replace 1/4 cup of flour with unsweetened cocoa powder. The yogurt still keeps the crumb moist, while cocoa adds depth.
Folding in 1/2 cup of chocolate chips or blueberries transforms the cake into a more indulgent variation. I toss them lightly in flour before mixing to prevent sinking.
Making It Healthier
To lighten the cake slightly, I substitute half of the all-purpose flour with whole wheat flour. The texture becomes slightly denser but still soft.
Reducing the sugar by two tablespoons creates a less sweet cake suitable for breakfast. The yogurt’s tang becomes more noticeable and refreshing.
Using low-fat yogurt works as well, though whole-milk yogurt gives the richest texture.
Common Mistakes To Avoid
Overmixing the batter can develop too much gluten, resulting in a dense cake. Gentle folding ensures tenderness.
Using cold ingredients can affect texture. Room-temperature eggs and yogurt blend more smoothly and bake more evenly.
Skipping pan preparation can cause sticking. Proper greasing and parchment lining guarantee clean removal.
Storage And Shelf Life
After cooling completely, I store the cake in an airtight container at room temperature for up to three days. It remains moist thanks to the yogurt and oil.
For longer storage, I refrigerate it for up to five days. I let slices come to room temperature before serving for the best texture.
The cake freezes well too. I wrap individual slices tightly and freeze for up to two months. Thawing at room temperature restores its softness.
Why This Recipe Works
Yogurt provides acidity, which reacts with baking soda to create lift and tenderness. This combination results in a light yet moist crumb.
Oil distributes evenly throughout the batter, ensuring consistent moisture. Unlike butter, oil stays liquid at room temperature, keeping the cake soft even after cooling.
The balanced ratio of wet to dry ingredients prevents heaviness. Each component contributes to structure, flavor, and texture.
Serving Ideas
I often serve this cake with tea in the afternoon. Its mild sweetness makes it suitable for casual gatherings or quiet moments.
For dessert, I pair it with a scoop of vanilla ice cream. The warm cake and cold ice cream create a pleasing contrast.
It also works beautifully as a base for layered desserts. I slice it horizontally and spread jam or cream between layers for a simple yet elegant presentation.
Final Thoughts
One-Pan Yogurt Cake Recipe delivers reliable results with minimal effort and equipment. The method is straightforward, the ingredients are simple, and the texture remains consistently tender and moist.
By measuring carefully, mixing gently, and baking until just done, you will achieve a soft, golden cake with subtle tang and comforting flavor. This recipe proves that uncomplicated techniques can produce beautifully satisfying results, making it a staple in my kitchen whenever I want a dependable homemade cake.