
No-Mixer Butter Cake Recipe is the kind of dependable bake I turn to when I want rich flavor and a tender crumb without dragging out any electric equipment. All it takes is a whisk, a spatula, and a sturdy bowl to produce a golden, buttery cake that tastes like it came from a traditional bakery. The texture is soft yet structured, the flavor is deep with real butter, and the method is straightforward enough to follow without second-guessing.
I love how this cake feels classic and comforting. The crumb is tight but tender, perfect for slicing cleanly and serving plain or dressed up with fruit and cream. With careful measuring and gentle mixing, you can create a beautiful butter cake entirely by hand.
Ingredients You Will Need
I measure all the ingredients before starting because butter-based cakes depend on balance. Precision ensures the cake rises properly and keeps its soft texture.
1 cup unsalted butter, melted and slightly cooled
1 1/4 cups granulated sugar
3 large eggs, at room temperature
1 cup whole milk, at room temperature
1 tablespoon pure vanilla extract
2 cups all-purpose flour
2 teaspoons baking powder
1/2 teaspoon salt
Optional additions:
1 tablespoon lemon zest
1/2 cup chocolate chips or chopped nuts
The butter gives richness and flavor. Sugar sweetens and contributes to tenderness, while eggs provide structure. Baking powder lifts the batter, and milk ensures a moist, soft crumb.
Preparing The Pan And Oven
I preheat the oven to 175°C (350°F) before mixing. A fully heated oven ensures that the baking powder activates immediately and the cake rises evenly.
For this No-Mixer Butter Cake Recipe, I use a standard 9-inch round cake pan or an 8-inch square pan. I grease it thoroughly with butter or oil and line the bottom with parchment paper. This guarantees easy release once the cake has cooled slightly.
Melting And Cooling The Butter
Because this is a no-mixer method, I melt the butter first. I do this gently in a saucepan over low heat or in short intervals in the microwave.
After melting, I let the butter cool slightly so it does not scramble the eggs when mixed. It should feel warm but not hot to the touch.
Using melted butter simplifies the process and removes the need for creaming. It also distributes evenly throughout the batter.
Mixing The Wet Ingredients
In a large mixing bowl, I whisk the sugar and eggs together until smooth and slightly pale. This step helps dissolve the sugar and incorporate a bit of air.
I slowly pour in the melted butter while whisking continuously. The mixture becomes glossy and thick as the butter blends with the eggs.
Next, I add the milk and vanilla extract. I whisk until the batter looks smooth and uniform. If I am using lemon zest, I add it at this stage for extra brightness.
Incorporating The Dry Ingredients
In a separate bowl, I combine the flour, baking powder, and salt. Mixing them beforehand ensures even distribution throughout the batter.
I gradually add the dry ingredients to the wet mixture. Using a spatula, I fold gently until no dry streaks remain. Overmixing can make the cake dense, so I stop as soon as everything is combined.
The batter should be smooth and slightly thick but still easy to pour. If it feels too stiff, I add one tablespoon of milk to loosen it slightly.
Adding Optional Mix-Ins
If I want extra texture or flavor, I fold in chocolate chips or chopped nuts at this stage. I stir gently to distribute them evenly without overworking the batter.
These additions create variety without altering the structure of the cake. The base recipe remains stable and moist.
Pouring And Leveling The Batter
I pour the batter into the prepared pan and use a spatula to smooth the top evenly. Tapping the pan lightly on the counter removes trapped air bubbles.
A level surface ensures even baking and a uniform golden top. The batter should settle naturally into the corners.
Baking The Cake
I place the pan in the center of the oven and bake for approximately 35 to 45 minutes. The exact time depends on the pan size and oven accuracy.
At around 35 minutes, I test the center with a toothpick. If it comes out clean or with a few dry crumbs, the cake is ready. If wet batter sticks to the toothpick, I continue baking in five-minute intervals.
The top should be golden and slightly firm to the touch. The edges may pull gently away from the pan when fully baked.
Cooling And Removing From The Pan
Once baked, I let the cake cool in the pan for about 15 minutes. This resting period allows the structure to set.
I run a knife along the edges and carefully invert the cake onto a wire rack. After removing the parchment paper, I allow it to cool completely before slicing.
The crumb firms up as it cools, becoming tender yet sturdy enough for clean cuts.
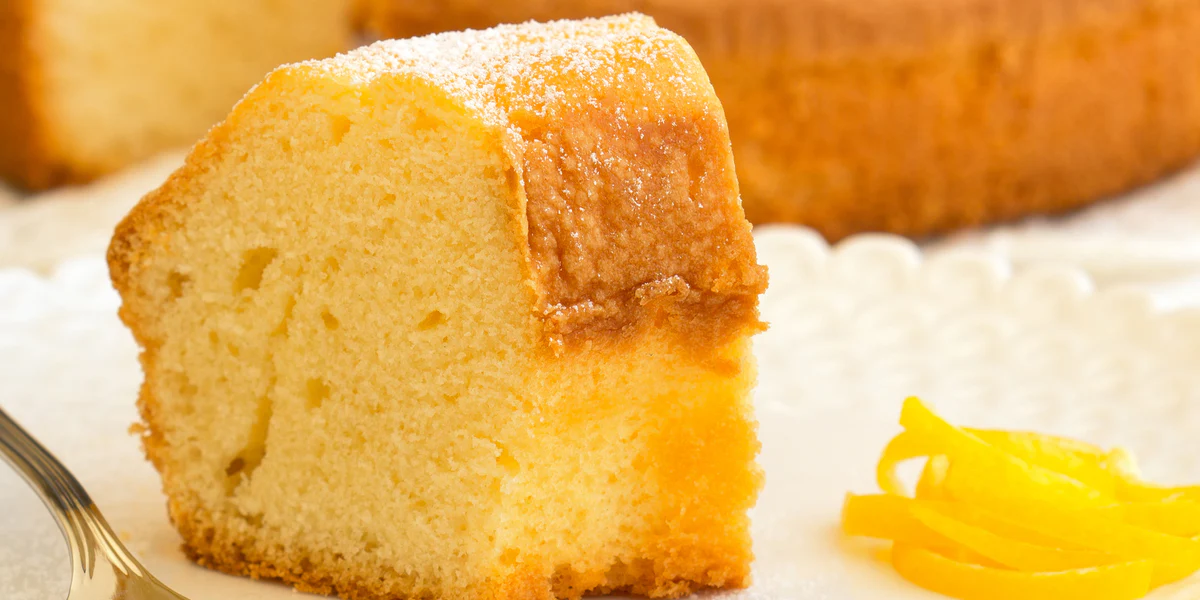
Texture And Flavor Profile
This No-Mixer Butter Cake Recipe produces a soft, moist crumb with rich buttery flavor. The melted butter distributes evenly, ensuring consistent texture throughout.
The cake is slightly dense but not heavy. It feels substantial without being dry.
Vanilla enhances the buttery notes, while optional lemon zest adds subtle brightness.
Simple Glaze Option
For a quick finish, I sometimes drizzle a simple glaze over the cooled cake. I mix powdered sugar with a small amount of milk or lemon juice until smooth.
I spoon the glaze over the top, allowing it to drip naturally down the sides. It adds sweetness and visual appeal without overpowering the cake.
Turning It Into A Layer Cake
This recipe doubles beautifully if I want to make a layered version. I divide the batter evenly between two pans and bake slightly less time.
After cooling, I spread buttercream or whipped cream between the layers. The sturdy crumb supports frosting without collapsing.
Fresh fruit between layers adds color and contrast. Strawberries or raspberries pair especially well with buttery cake.
Flavor Variations
For a chocolate variation, I replace 1/4 cup of flour with cocoa powder and add two tablespoons of milk to maintain moisture.
Adding a teaspoon of almond extract in place of vanilla creates a subtle nutty aroma. It gives the cake a different but equally comforting profile.
Swirling cinnamon sugar on top before baking creates a lightly caramelized crust. This adds texture and warmth.
Making It Dairy-Free
To adapt this recipe, I substitute plant-based butter and use almond milk instead of whole milk.
The texture remains moist as long as the fat content is similar. The flavor changes slightly depending on the butter alternative, but the structure stays intact.
Avoiding Common Mistakes
Using hot butter can cook the eggs prematurely. Allowing it to cool slightly prevents this issue.
Overmixing after adding flour can create toughness. Gentle folding preserves tenderness.
Skipping proper pan preparation can cause sticking. Greasing and lining ensure easy removal.
Storage And Shelf Life
After cooling completely, I store the cake in an airtight container at room temperature for up to three days. The butter keeps it moist and flavorful.
For longer storage, I refrigerate it for up to five days. I let slices come to room temperature before serving for the best texture.
The cake also freezes well. I wrap slices individually and freeze for up to two months. Thawing restores softness without drying out.
Serving Suggestions
I often serve this butter cake plain with coffee or tea. Its richness stands on its own without elaborate toppings.
For dessert, I add whipped cream and fresh berries. The contrast between rich cake and light cream is satisfying.
Another option is serving warm slices with a scoop of vanilla ice cream. The buttery crumb pairs beautifully with cold ice cream.
Why This Recipe Works
Melted butter eliminates the need for creaming while still providing flavor and moisture. Baking powder supplies consistent lift.
Eggs bind everything together, creating structure. Milk ensures a soft crumb and prevents dryness.
The balanced ratio of ingredients results in a reliable cake that is easy to replicate.
Final Thoughts
No-Mixer Butter Cake Recipe proves that rich, flavorful cake does not require special equipment. With simple ingredients and a careful hand, you can produce a tender, golden butter cake entirely by hand.
By measuring accurately, mixing gently, and baking until just done, you will achieve a moist crumb and deep buttery flavor every time. This recipe remains one of my most dependable options when I want homemade cake without extra tools or complicated steps.