
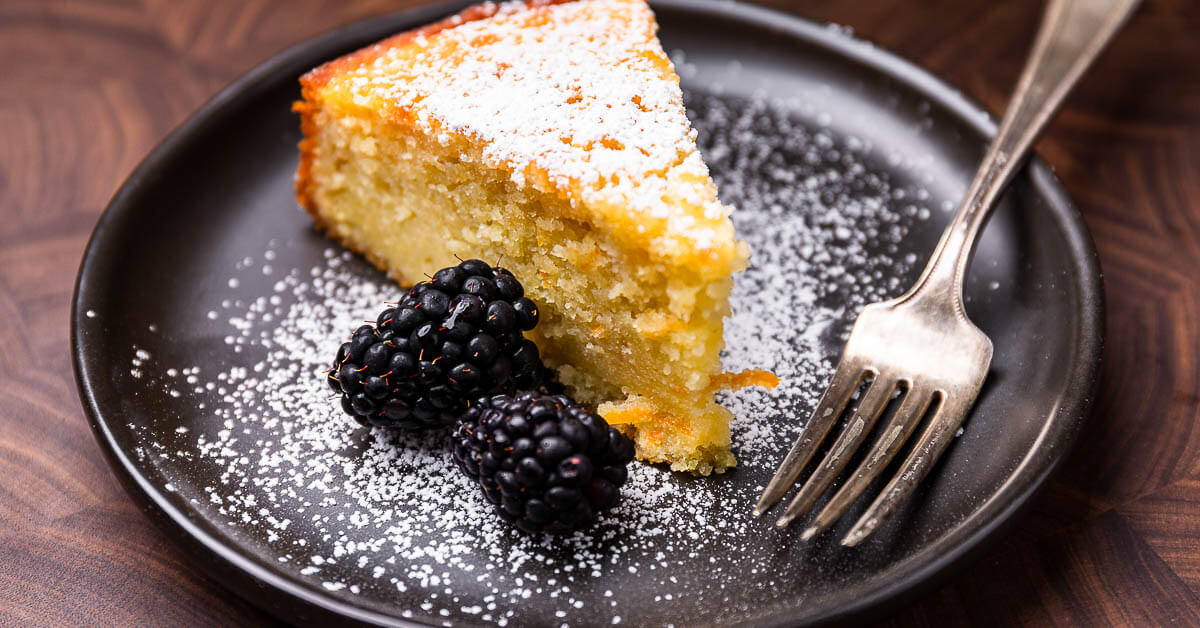
Moist Orange Olive Oil Cake fills my kitchen with the deep, citrusy aroma of fresh oranges and the gentle richness of good olive oil. The texture is soft and plush, with a tender crumb that stays moist for days without relying on butter. I bake this cake when I want something bright and fragrant that feels both simple and elegant, the kind of dessert that works just as well with afternoon coffee as it does at a dinner table.
This is a complete, step-by-step recipe that guides you from zesting the oranges to glazing the finished cake. If you measure carefully and follow each stage patiently, you will have a beautifully moist orange olive oil cake with balanced sweetness and a delicate citrus finish. Nothing complicated is required, just fresh ingredients and attention to detail.
Ingredients For The Cake Batter
Before I begin mixing, I gather and measure all my ingredients so the process flows smoothly. Precision makes a noticeable difference in the final texture, especially in a cake that relies on oil rather than butter.
2 1/2 cups (300 g) all-purpose flour
2 teaspoons baking powder
1/2 teaspoon baking soda
1/2 teaspoon fine salt
1 1/4 cups (250 g) granulated sugar
2 tablespoons finely grated orange zest
3 large eggs, room temperature
1 cup (240 ml) extra virgin olive oil
3/4 cup (180 ml) freshly squeezed orange juice
1/2 cup (120 ml) whole milk, room temperature
1 teaspoon pure vanilla extract
The olive oil should be good quality but not overwhelmingly bitter. I prefer one that tastes smooth and slightly fruity, as that complements the orange beautifully. Fresh orange juice and zest are essential because bottled juice simply does not offer the same brightness.
Ingredients For The Orange Syrup
To intensify the moisture and citrus flavor, I brush the baked cake with a simple syrup.
1/2 cup (120 ml) freshly squeezed orange juice
1/4 cup (50 g) granulated sugar
This syrup seeps into the warm cake and enhances its softness. It also ensures the cake stays tender for several days.
Ingredients For The Orange Glaze
To finish the cake, I prepare a light glaze.
1 cup (120 g) powdered sugar
2 to 3 tablespoons freshly squeezed orange juice
1 teaspoon finely grated orange zest
The glaze adds a delicate sweetness and a glossy finish. It highlights the orange flavor without overwhelming the cake.
Preparing The Pan And Oven
I preheat the oven to 350°F (175°C). A properly heated oven allows the cake to rise steadily and bake evenly from edge to center. While it warms, I prepare a 9-inch round cake pan or a 9-inch springform pan.
I grease the pan lightly with oil and line the bottom with parchment paper. This ensures the cake releases cleanly after baking. Olive oil cakes are moist, and parchment prevents sticking at the base.
Mixing The Dry Ingredients
In a medium bowl, I whisk together the flour, baking powder, baking soda, and salt. Whisking distributes the leavening agents evenly throughout the flour. This step helps the cake rise uniformly and prevents dense spots.
I set the dry mixture aside while I work on the wet ingredients. Keeping them separate until the right moment reduces the risk of overmixing.
Infusing Sugar With Orange Zest
In a large mixing bowl, I combine the granulated sugar and orange zest. Using my fingertips, I rub the zest into the sugar for about one minute. This releases the essential oils in the zest and makes the sugar intensely fragrant.
The sugar becomes slightly damp and aromatic. That fragrance carries through the entire cake, making the orange flavor deeper and more natural.
Mixing The Wet Ingredients
To the orange-scented sugar, I add the eggs and whisk until pale and slightly thickened. This usually takes a couple of minutes of steady whisking. The mixture should look creamy and smooth.
Next, I slowly pour in the olive oil while whisking continuously. Adding it gradually helps emulsify the mixture and prevents separation. Once the oil is fully incorporated, I add the fresh orange juice, milk, and vanilla extract, whisking until everything is smooth.
Combining Wet And Dry Components
I add the dry ingredients to the wet mixture in two additions. Using a spatula, I fold gently after each addition until no visible streaks of flour remain. Overmixing can make the cake tough, so I stop as soon as the batter looks uniform.
The batter should be silky and slightly loose. It pours easily but still has body. That consistency ensures a tender crumb once baked.
Pouring And Baking The Cake
I pour the batter into the prepared pan and smooth the top with a spatula. A few light taps on the counter help release any large air bubbles. This promotes even baking and a smooth surface.
The cake bakes for 40 to 50 minutes, depending on the oven. I begin checking at 40 minutes by inserting a toothpick into the center. If it comes out clean or with a few moist crumbs, the cake is ready. If batter clings to it, I bake for a few more minutes and test again.
Preparing The Orange Syrup
While the cake bakes, I prepare the syrup. In a small saucepan over medium heat, I combine the orange juice and sugar. I stir until the sugar dissolves completely and the mixture comes to a gentle simmer.
I remove it from the heat once slightly thickened. The syrup should not be reduced too much because it needs to soak into the cake easily.
Soaking The Cake
Once the cake comes out of the oven, I let it cool in the pan for about 10 minutes. Then I carefully remove it from the pan and place it on a wire rack set over a tray. While the cake is still warm, I brush the orange syrup generously over the top and sides.
The warm cake absorbs the syrup beautifully. This step enhances both flavor and moisture, ensuring the cake stays soft even after refrigeration.
Cooling Completely
After brushing with syrup, I allow the cake to cool completely before glazing. Cooling is essential because a warm cake will cause the glaze to melt and disappear. Patience here ensures a clean, attractive finish.
As the cake cools, the orange aroma becomes more pronounced. The crumb settles into a tender, slightly dense but soft texture that slices cleanly.
Preparing The Orange Glaze
In a small bowl, I whisk together the powdered sugar, orange juice, and zest. I adjust the juice gradually until the glaze reaches a pourable but thick consistency. It should drip slowly from a spoon.
If the glaze feels too thin, I add more powdered sugar. If too thick, I add a few drops of orange juice. The goal is a smooth glaze that coats the cake without running off completely.
Glazing The Cake
I spoon the glaze over the cooled cake, allowing it to flow naturally down the sides. I do not force it into place because the gentle drips create a relaxed, homemade look. The glaze settles into a delicate layer that adds sweetness and shine.
I let the glaze set for about 20 to 30 minutes before slicing. This allows it to firm slightly and makes cleaner cuts possible.
Texture And Flavor Profile
Moist Orange Olive Oil Cake has a tender crumb that feels soft without being overly airy. The olive oil gives it a subtle richness that butter cannot replicate. The orange flavor tastes fresh and bright, balanced by just enough sweetness.
The syrup deepens the citrus notes while maintaining moisture. Each bite feels cohesive, with the glaze adding a gentle sweetness that complements the cake rather than overpowering it.
Serving Suggestions
I enjoy serving this cake slightly warm or at room temperature. A small dollop of lightly whipped cream pairs beautifully with the citrus flavor. Fresh orange slices or a sprinkle of zest on top also make a lovely presentation.
This cake works well for brunch, afternoon tea, or dessert after dinner. Its flavor feels sophisticated yet comforting, making it suitable for many occasions.
Storage Tips
I store the cake covered at room temperature for up to two days. If I plan to keep it longer, I refrigerate it for up to five days. Before serving from the refrigerator, I allow it to come back to room temperature for the best texture.
The olive oil helps preserve moisture, so the cake does not dry out quickly. In fact, the flavor often improves slightly after a day as the orange notes deepen.
Helpful Baking Notes
Always use freshly squeezed orange juice and freshly grated zest. Pre-packaged juice lacks the natural brightness that defines this cake. Zest only the outer orange layer, avoiding the bitter white pith beneath.
Measure flour accurately by spooning it into the measuring cup and leveling it off. Scooping directly from the bag can pack too much flour into the cup, leading to a dense cake. Small details like this influence the final result more than many realize.
Final Thoughts
Moist Orange Olive Oil Cake delivers a balance of brightness, richness, and softness that makes it memorable. The olive oil creates a tender crumb, the syrup enhances moisture, and the glaze ties everything together with a sweet citrus finish. Each step builds naturally on the one before it, making the recipe straightforward yet rewarding.
Following the method carefully ensures a cake that rises evenly, slices cleanly, and stays moist for days. The flavor feels fresh and vibrant without being overpowering. Once baked, this cake becomes a dependable favorite that I return to whenever oranges are in season and I want something both simple and special.