Blender Vanilla Cake In 10 Minutes
Blender Vanilla Cake In 10 Minutes is my answer to busy days when I still want a soft, homemade cake on the table. I rely on a simple blender to do most of the work, which means fewer bowls, less mess, and almost no effort with mixing. The result is a light, tender vanilla cake with a delicate crumb and a rich aroma that fills the kitchen while it bakes.
This recipe is practical and dependable. The batter comes together in one blender jar, and the texture stays consistent because the ingredients are blended smoothly and evenly. If you measure carefully and follow the steps in order, you will have a golden vanilla cake ready for the oven in minutes.
Ingredients You Will Need
I gather and measure everything before I start blending. Since this recipe moves quickly, having all ingredients ready ensures a smooth process and prevents overmixing.
3 large eggs
1 cup granulated sugar
1/2 cup vegetable oil
3/4 cup milk, at room temperature
1 tablespoon pure vanilla extract
2 cups all-purpose flour
1 tablespoon baking powder
1/4 teaspoon salt
Optional for finishing:
Powdered sugar for dusting
Simple vanilla glaze made with powdered sugar and milk
The eggs provide structure and richness. Sugar sweetens and helps create a tender crumb, while oil keeps the cake moist even after cooling. Baking powder gives lift, ensuring the cake rises beautifully.
Preparing The Pan And Oven
I always preheat the oven to 180°C (350°F) before I begin blending. A properly heated oven ensures even rising and prevents the cake from becoming dense. Starting with a cold oven can affect texture and cause uneven baking.
I grease a 20-centimeter round cake pan with oil or butter and line the bottom with parchment paper. This step guarantees easy removal after baking. Lightly dusting the pan with flour adds extra insurance against sticking.
Blending The Wet Ingredients
The blender does most of the heavy lifting in this recipe. I begin by adding the eggs, sugar, vegetable oil, milk, and vanilla extract into the blender jar.
I blend on medium speed for about 30 to 45 seconds. The mixture becomes pale, smooth, and slightly frothy. This aeration helps create a lighter cake texture without needing a mixer.
Blending the wet ingredients first ensures the sugar dissolves properly. The smooth base also prevents lumps later when the flour is added.
Incorporating The Dry Ingredients
Once the wet mixture is smooth, I add the flour, baking powder, and salt directly into the blender. I pulse gently rather than blending continuously.
Short pulses prevent overmixing, which can develop too much gluten and result in a tough cake. I stop blending as soon as the flour disappears into the batter. The final texture should be smooth and slightly thick but pourable.
If the blender struggles due to thickness, I stop and scrape down the sides using a spatula. Then I pulse again briefly until everything is evenly incorporated.
Pouring And Baking
I immediately pour the batter into the prepared cake pan. It spreads evenly and levels itself with minimal adjustment. I tap the pan lightly on the counter to release any trapped air bubbles.
The cake goes into the preheated oven and bakes for about 30 to 35 minutes. Baking time may vary slightly depending on the oven, so I begin checking at the 30-minute mark.
To test doneness, I insert a toothpick into the center. If it comes out clean or with a few dry crumbs, the cake is ready. A wet toothpick means it needs a few more minutes.
Cooling The Cake
Once baked, I remove the cake from the oven and let it rest in the pan for 10 minutes. This resting time allows the structure to set and makes removal easier.
After that, I carefully run a knife along the edges and invert the cake onto a wire rack. I peel off the parchment paper and let the cake cool completely before adding any topping.
The aroma of vanilla at this stage is warm and inviting. The surface turns lightly golden, and the crumb looks soft and even.
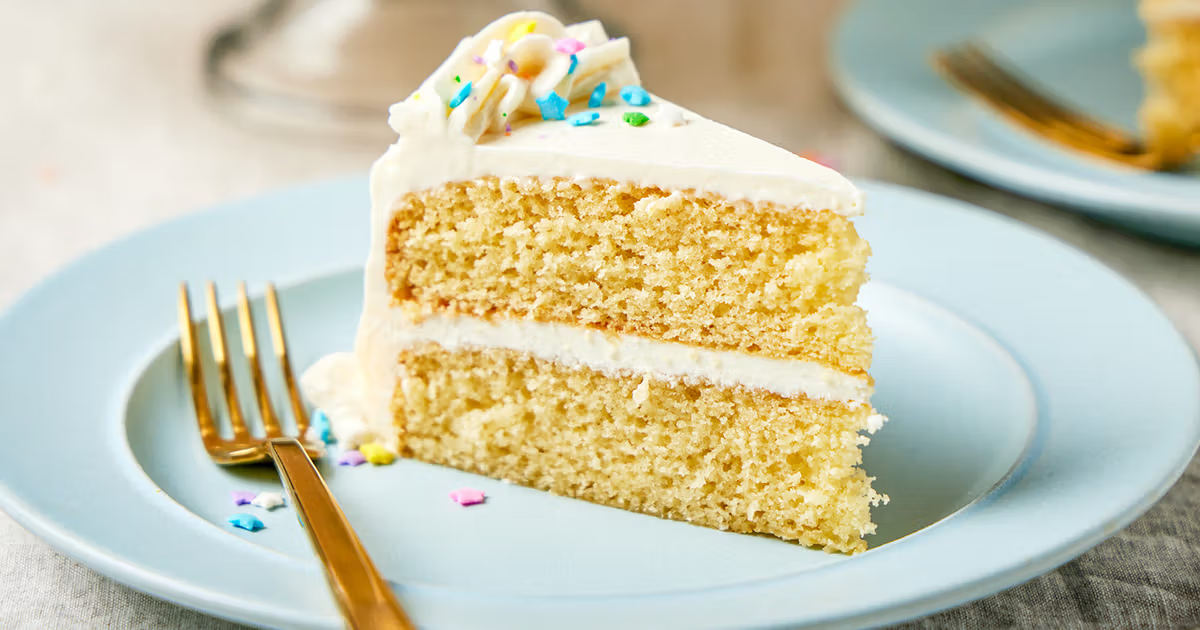
Texture And Flavor
This Blender Vanilla Cake In 10 Minutes produces a tender, moist crumb with a delicate sweetness. The oil keeps it soft even after refrigeration, and the vanilla flavor shines without being overpowering.
The texture is balanced between fluffy and slightly dense, making it perfect for slicing. It does not crumble excessively, and it holds together beautifully when layered or frosted.
Because the batter is blended smoothly, the crumb has a uniform structure. Each bite feels soft and rich with subtle vanilla warmth.
Simple Vanilla Glaze Option
Sometimes I like to add a quick glaze for extra sweetness and shine. I mix one cup of powdered sugar with two to three tablespoons of milk and a splash of vanilla extract.
I stir until smooth and slightly thick. Once the cake has cooled completely, I drizzle the glaze over the top and let it flow naturally down the sides.
The glaze sets lightly after about 20 minutes. It adds a gentle sweetness without overpowering the cake’s delicate vanilla profile.
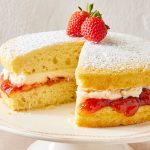
Turning It Into A Layer Cake
This recipe works beautifully for layering. I sometimes double the recipe and bake it in two separate pans.
Once cooled, I spread vanilla buttercream or whipped cream between the layers. The cake’s structure is sturdy enough to hold frosting without collapsing.
Adding fresh strawberries or sliced peaches between layers transforms it into an elegant dessert suitable for gatherings. The neutral vanilla base pairs well with fruit, chocolate, or caramel.
Flavor Variations
Although this is a classic vanilla cake, I occasionally experiment with subtle additions. A teaspoon of lemon zest brightens the flavor and adds freshness.
For a richer taste, I substitute half the milk with heavy cream. This produces a slightly denser texture and a more indulgent flavor.
A swirl of cinnamon sugar on top before baking creates a delicate crust. The cinnamon caramelizes slightly, adding warmth and depth to the finished cake.
Making It Dairy-Free
This cake adapts easily for dairy-free needs. I replace regular milk with almond milk, oat milk, or soy milk in equal quantity.
The flavor shifts slightly depending on the milk used, but the texture remains soft. Oil already provides moisture, so no additional fat adjustment is needed.
Common Mistakes To Avoid
Overblending once the flour is added can make the cake tough. Gentle pulsing is enough to combine everything without overworking the batter.
Skipping oven preheating can result in uneven rising. The cake depends on immediate heat activation from the baking powder.
Using cold ingredients can also affect texture. I allow eggs and milk to reach room temperature for smoother blending and better structure.
Storage And Shelf Life
After cooling completely, I store the cake in an airtight container at room temperature for up to three days. The oil helps it remain moist without drying out quickly.
For longer storage, I refrigerate it for up to five days. I allow slices to come to room temperature before serving for the best texture.
This cake also freezes well. I wrap slices individually in plastic wrap and place them in a freezer-safe container. Thawing at room temperature restores its softness.
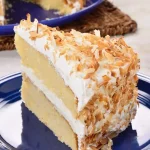
Serving Suggestions
I often serve this cake plain with a dusting of powdered sugar. Its simple flavor makes it perfect for pairing with tea or coffee.
For special occasions, I add whipped cream and fresh berries on top. The light acidity of berries balances the sweetness beautifully.
Another favorite option is serving warm slices with a scoop of vanilla ice cream. The contrast between warm cake and cold ice cream makes it especially comforting.
Why This Recipe Works
Blending the wet ingredients creates an emulsified base that distributes fat evenly. This ensures consistent moisture throughout the cake.
Oil provides tenderness that butter sometimes cannot achieve in quick-mix recipes. Baking powder gives reliable lift without requiring creaming techniques.
The simplicity of the method reduces room for error. Fewer steps mean fewer chances to overmix or mismeasure.
Making It In A Loaf Pan
If I want a different shape, I bake this batter in a loaf pan. Baking time increases slightly to about 40 to 45 minutes.
I check doneness the same way with a toothpick. The loaf shape slices beautifully and works well for breakfast or afternoon snacks.
Final Thoughts
Blender Vanilla Cake In 10 Minutes is proof that homemade baking does not need to be complicated. With a blender, basic pantry ingredients, and a reliable oven, I can produce a soft, flavorful cake quickly and consistently.
The texture stays moist, the flavor remains classic and comforting, and the preparation is almost effortless. By following the measurements and blending carefully, you will have a golden vanilla cake ready to enjoy with minimal cleanup. This recipe fits busy schedules while still delivering the warmth and satisfaction of a freshly baked dessert.