
Rice Cooker Sponge Cake is one of those recipes I turn to when I want a light, airy cake without using an oven. My rice cooker becomes a surprisingly reliable baking tool, producing a soft sponge with a delicate crumb and golden exterior. The texture is fluffy yet structured, perfect for slicing and layering or serving plain with a dusting of powdered sugar.
I enjoy how uncomplicated this method feels. The rice cooker maintains steady heat, which allows the batter to cook gently and evenly. With careful mixing and patience, the result is a tender sponge cake that rivals traditional oven-baked versions.
This cake is not dense or heavy. It has the classic bounce and spring that define a proper sponge, and the flavor is mildly sweet with subtle vanilla notes. The simplicity of ingredients highlights technique, making each step important.
Ingredients You Will Need
I measure everything precisely before starting because sponge cakes rely heavily on proper ratios and aeration.
4 large eggs, at room temperature
3/4 cup granulated sugar
1 cup all-purpose flour, sifted
2 tablespoons cornstarch
1/4 cup milk, warmed slightly
2 tablespoons unsalted butter, melted and cooled
1 teaspoon vanilla extract
1/4 teaspoon salt
The eggs provide structure and volume, while sugar stabilizes the foam created during beating. Flour and cornstarch create a light texture, and a small amount of butter adds moisture without weighing the sponge down.
Preparing The Rice Cooker
I lightly grease the inner pot of the rice cooker with butter or oil and line the bottom with a circle of parchment paper. This helps prevent sticking and makes removal easier.
If my rice cooker has a standard “Cook” setting without specific cake options, that works perfectly fine. The key is allowing enough cooking cycles for the sponge to set fully.
Before pouring the batter in, I make sure the inner pot is completely dry and properly positioned. A stable base ensures even cooking.
Beating The Eggs And Sugar
In a large mixing bowl, I combine the eggs and sugar. Using a hand whisk or electric hand mixer, I beat them until the mixture becomes pale, thick, and triples in volume.
This step is crucial because the air incorporated here gives the sponge its signature lightness. When I lift the whisk, the batter should fall in ribbons and briefly sit on the surface before dissolving back in.
Proper aeration can take several minutes, especially by hand. I stay patient because underbeating leads to a flat, dense cake.
Folding In The Dry Ingredients
I sift the flour, cornstarch, and salt together to remove lumps and keep the texture fine. Sifting also helps maintain the air incorporated in the egg mixture.
Using a spatula, I fold the dry ingredients into the egg mixture in batches. I move gently from the bottom of the bowl upward, rotating the bowl as I go.
I avoid stirring aggressively because that would deflate the batter. The goal is to combine everything while preserving as much air as possible.
Adding Milk And Butter
In a small bowl, I combine the warm milk, melted butter, and vanilla extract. I take a small portion of the batter and mix it into this liquid first.
This step lightens the milk mixture and makes it easier to incorporate back into the main batter without collapsing the foam. I then fold the mixture gently into the batter until smooth.
The final batter should look airy and slightly thick but still pourable. It should not appear watery or overly dense.
Pouring The Batter Into The Rice Cooker
I pour the batter into the prepared rice cooker pot and tap it lightly on the counter to release large air bubbles. The surface should look smooth and even.
I place the pot back into the rice cooker and close the lid securely. Then I press the “Cook” button to begin the baking process.
Cooking The Sponge Cake
Most rice cookers switch to “Warm” mode once the initial cooking cycle finishes. When that happens, I allow the cake to rest for about 5 minutes before pressing “Cook” again.
Typically, it takes two to three full cycles for the sponge to cook completely. The exact time depends on the rice cooker model.
To check for doneness, I insert a toothpick into the center. If it comes out clean or with a few dry crumbs, the cake is ready. If not, I run another short cooking cycle.
The top should feel firm yet springy when touched lightly.
Cooling And Removing The Cake
Once cooked, I unplug the rice cooker and let the cake sit inside with the lid slightly open for about 10 minutes. This prevents sudden temperature changes that could cause shrinkage.
I run a thin knife along the edges to loosen the cake. Then I carefully invert the pot onto a plate and remove the parchment paper.
I allow the cake to cool completely on a wire rack before slicing. As it cools, the structure sets and the crumb becomes perfectly soft.
Texture And Flavor Profile
Rice Cooker Sponge Cake has a light, airy crumb with a delicate sweetness. It feels soft and springy when pressed gently.
The subtle vanilla flavor makes it versatile for various toppings and fillings. The small amount of butter keeps it moist without overpowering the egg-based structure.
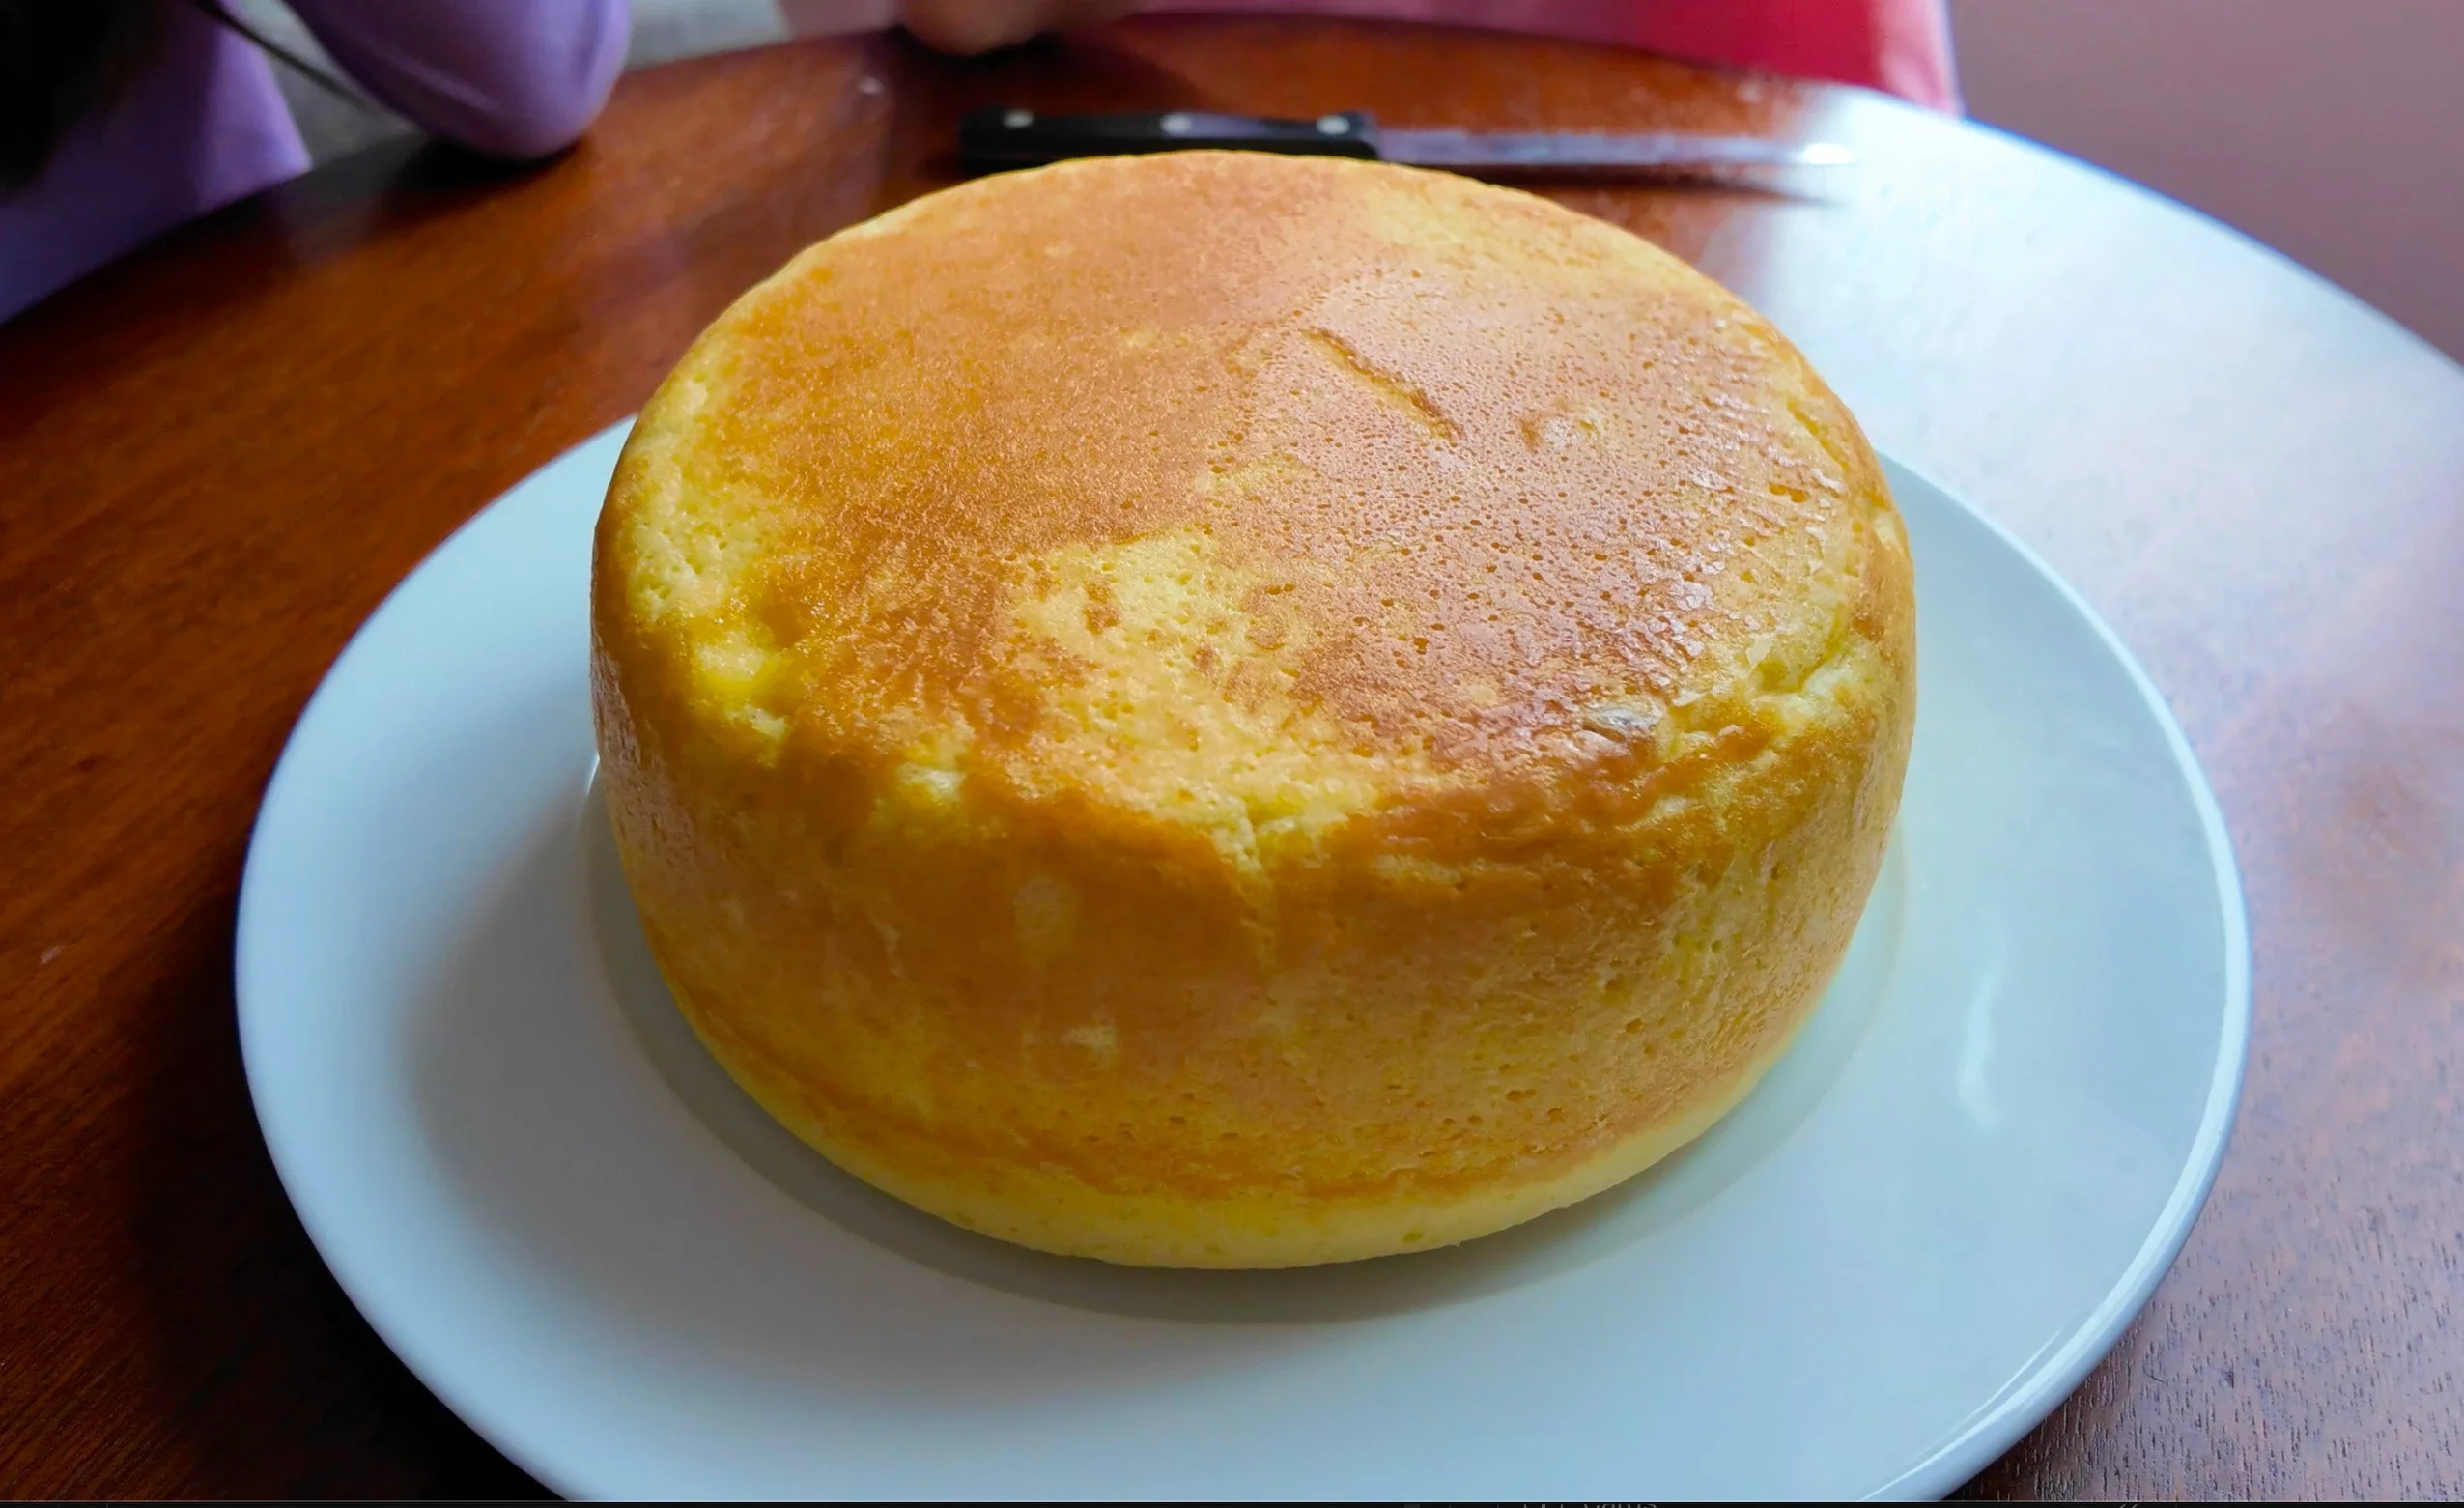
The exterior develops a light golden crust from direct contact with the heated pot. Inside, the crumb remains pale and fluffy.
Turning It Into A Layer Cake
I often slice the cooled sponge horizontally into two or three layers. Because the crumb is soft yet stable, it handles layering well.
I spread whipped cream and fresh fruit between the layers for a simple, elegant dessert. Strawberries, mango slices, or peaches work beautifully.
A thin layer of jam can also enhance flavor without adding heaviness. The sponge absorbs moisture from fillings, becoming even more tender.
Chocolate Variation
To make a chocolate version, I replace 2 tablespoons of flour with cocoa powder. I sift it together with the other dry ingredients to prevent lumps.
Adding one tablespoon of milk helps maintain the proper consistency. The chocolate sponge remains airy while offering a deeper flavor.
A chocolate glaze or ganache pairs especially well with this variation.
Lemon Or Citrus Twist
For a brighter flavor, I add one teaspoon of finely grated lemon or orange zest to the batter. The citrus oils enhance the light sweetness of the sponge.
A drizzle of simple lemon syrup brushed over the cooled cake adds moisture and extra fragrance. The balance between sweet and tangy feels refreshing.
Common Mistakes To Avoid
Underbeating the eggs results in a dense cake. Proper volume is essential for lift.
Overfolding the flour can deflate the batter. Gentle folding preserves the air that gives the sponge its height.
Opening the rice cooker too frequently during cooking can disrupt heat stability. I keep the lid closed as much as possible.
Storage And Shelf Life
Once completely cooled, I store the sponge cake in an airtight container at room temperature for up to two days. Because it contains minimal fat, it can dry out if left uncovered.
Refrigeration extends freshness to about four days. I wrap it well to prevent it from absorbing refrigerator odors.
The cake freezes well if tightly wrapped in plastic wrap and stored in a freezer-safe bag. I thaw it at room temperature before serving.
Serving Suggestions
I often dust the top lightly with powdered sugar for a simple presentation. The contrast against the golden crust looks elegant.
Serving slices with whipped cream and fresh berries enhances both flavor and visual appeal. The light sponge complements creamy toppings beautifully.
For tea gatherings, I cut the cake into small squares and serve with hot tea. Its delicate sweetness pairs perfectly with warm beverages.
Why This Method Works
The rice cooker provides consistent, enclosed heat that mimics gentle baking. The sealed environment traps moisture, preventing the sponge from drying out.
Whipped eggs create natural lift without relying heavily on chemical leavening. Careful folding maintains structure and airiness.
The controlled cycles allow gradual cooking, which helps the cake set evenly from edge to center.
Final Thoughts
Rice Cooker Sponge Cake proves that a simple appliance can produce impressive baking results. With proper aeration, gentle folding, and patient cooking cycles, the outcome is a light and tender sponge that feels both classic and adaptable.
This method is practical for kitchens without ovens or for days when I want to avoid heating the entire space. The result is a soft, airy cake ready to be enjoyed plain or dressed up for any occasion.