
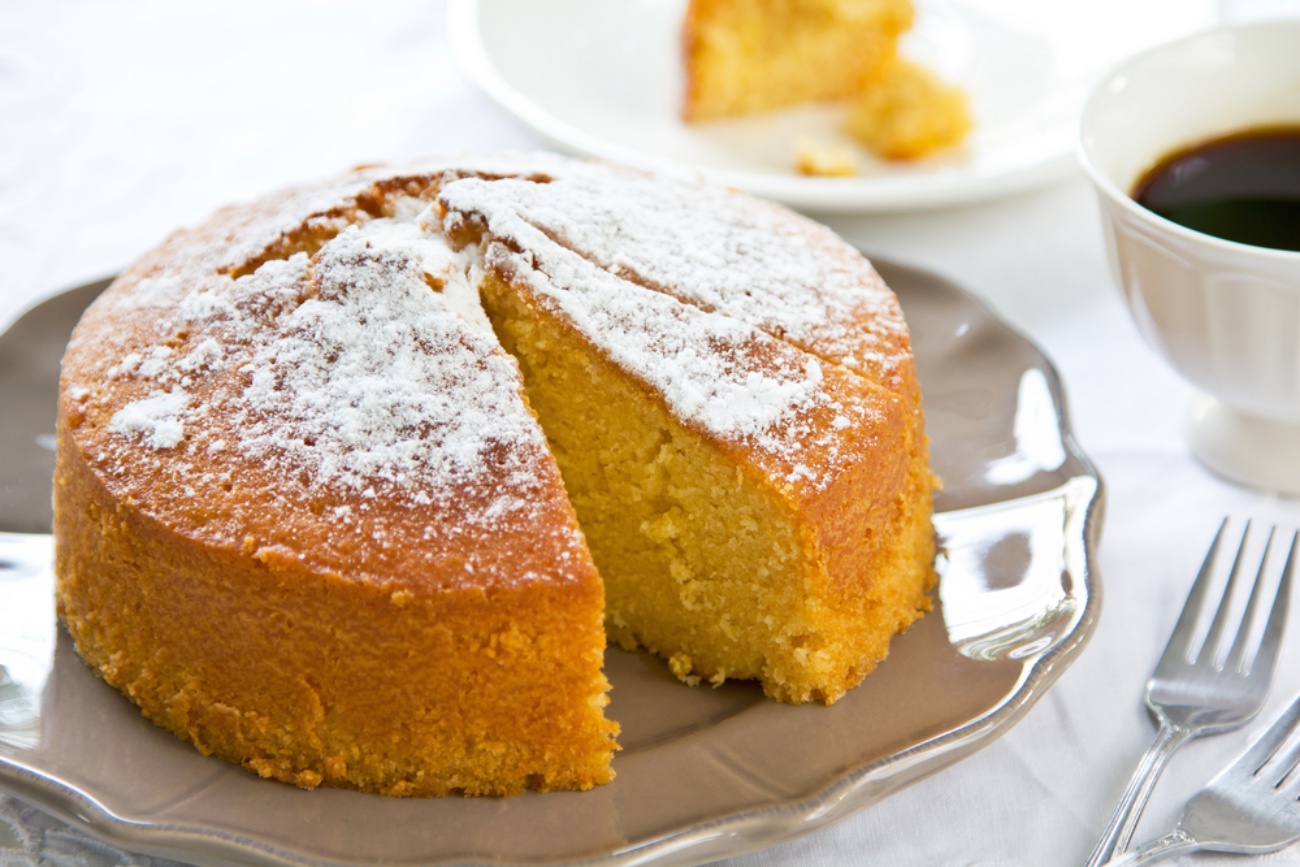
Old-School Butter Cake with Simple Icing is the kind of recipe that never goes out of style. The crumb is tight yet tender, the flavor is rich with real butter, and the top carries a smooth, sweet icing that sets just enough to give a delicate crack when sliced. I bake this cake whenever I want something nostalgic, dependable, and deeply satisfying without complicated techniques or trendy ingredients.
This recipe is built on classic proportions and proper mixing technique. If you measure accurately, follow the order of steps, and resist rushing the creaming stage, you will end up with a golden, sturdy butter cake that tastes even better the next day. I will walk you through each step so you can bake it confidently from start to finish.
Ingredients For Old-School Butter Cake With Simple Icing
I rely on simple pantry staples for this cake. Quality matters here because the flavor is straightforward and butter-forward, so fresh ingredients make a noticeable difference.
For the butter cake:
- 2 1/2 cups (315 g) all-purpose flour
- 2 1/2 teaspoons baking powder
- 1/2 teaspoon salt
- 1 cup (225 g) unsalted butter, softened at room temperature
- 1 3/4 cups (350 g) granulated sugar
- 4 large eggs, room temperature
- 1 tablespoon pure vanilla extract
- 1 cup (240 ml) whole milk, room temperature
For the simple icing:
- 2 cups (240 g) powdered sugar, sifted
- 2 to 3 tablespoons milk
- 1 teaspoon vanilla extract
- A small pinch of salt
Room temperature butter, eggs, and milk are essential. Cold ingredients do not blend smoothly and can cause the batter to curdle or bake unevenly.
Equipment You Will Need
I keep the equipment straightforward so the focus stays on technique. You will need a 9×13-inch rectangular baking pan or two 8-inch round cake pans, parchment paper, a stand mixer or hand mixer, mixing bowls, a whisk, a rubber spatula, and a cooling rack.
Before mixing anything, I preheat the oven to 350°F (175°C). I grease the pan generously with butter, line the bottom with parchment if using rounds, and lightly flour the sides. Proper pan preparation ensures the cake releases cleanly without tearing the delicate edges.
Preparing The Dry Ingredients
I begin by sifting together the flour, baking powder, and salt into a medium bowl. Sifting helps remove lumps and evenly distributes the leavening agent. Even though it may seem like a small detail, this step contributes to a consistent crumb.
After sifting, I whisk the mixture for about 20 seconds. This ensures everything is evenly blended and prevents uneven rising in the oven. I set the bowl aside while I prepare the butter and sugar mixture.
Creaming Butter And Sugar Properly
The heart of an old-school butter cake lies in the creaming process. I place the softened butter in the mixer bowl and beat it on medium speed until smooth and creamy, which usually takes about one minute. The butter should be soft but not melted, holding its shape while yielding easily to pressure.
I gradually add the granulated sugar while continuing to beat. Over the next four to five minutes, the mixture becomes pale, light, and fluffy. This stage incorporates air into the batter, and that air expands during baking to create structure and lift.
I scrape down the sides and bottom of the bowl halfway through. Skipping this can leave dense streaks of butter that affect the final texture. Once the mixture looks noticeably lighter in both color and volume, I know it is ready for the eggs.
Adding Eggs And Vanilla
I add the eggs one at a time, beating well after each addition. This gradual incorporation prevents the batter from separating. If the mixture looks slightly curdled at any point, I add a tablespoon of the measured flour and beat briefly to bring it back together.
After all the eggs are fully mixed in, I add the vanilla extract. The batter at this stage should be smooth, creamy, and slightly thick. The aroma of butter and vanilla together is a clear sign that the base is developing properly.
Alternating Dry Ingredients And Milk
I reduce the mixer speed to low and add the dry ingredients in three additions, alternating with the milk in two additions. I begin and end with the dry ingredients. This method helps maintain a smooth batter and prevents overmixing.
I mix only until the flour disappears into the batter. Overmixing can develop excess gluten, which leads to a tough cake rather than a tender one. Once combined, I use a spatula to gently fold the batter and ensure no flour pockets remain at the bottom.
The finished batter should be thick but pourable, with a silky consistency. It should not be runny or stiff.
Filling The Pan And Preparing To Bake
I pour the batter into the prepared pan and spread it evenly with a spatula. If using two round pans, I divide the batter evenly between them. I tap the pan lightly on the counter to release any large air bubbles trapped inside.
Smoothing the top helps the cake bake evenly. A level batter surface reduces doming and makes icing easier later.
I place the pan on the middle oven rack to allow even heat circulation.
Baking The Butter Cake
The cake bakes for 30 to 40 minutes in a 9×13-inch pan, or 25 to 30 minutes if using two round pans. I begin checking at the lower end of the baking time by inserting a toothpick into the center. If it comes out clean or with a few moist crumbs, the cake is ready.
The top should be golden and slightly firm to the touch. The edges will pull away slightly from the sides of the pan. I avoid opening the oven during the first 20 minutes because sudden temperature changes can cause the cake to sink.
Once baked, I remove the cake and let it cool in the pan for 15 minutes. Then I transfer it to a cooling rack if using round pans, or leave it in the 9×13-inch pan if planning to ice it directly.
Making The Simple Icing
The icing for this Old-School Butter Cake with Simple Icing is intentionally uncomplicated. I sift the powdered sugar into a bowl to remove lumps. Then I add two tablespoons of milk, vanilla extract, and a pinch of salt.
I whisk until smooth and glossy. If the icing is too thick, I add a small splash of milk at a time until it reaches a pourable consistency. It should flow slowly off the spoon but not be watery.
The pinch of salt balances the sweetness and enhances the butter flavor of the cake.
Icing The Cake
I wait until the cake is completely cool before icing. Pouring icing over a warm cake will cause it to melt and become too thin. Once cooled, I pour the icing over the center and gently spread it toward the edges with an offset spatula.
The icing settles into a smooth layer and sets within about 30 minutes. It forms a delicate crust on top while remaining soft underneath. This texture contrast is part of what makes the cake feel nostalgic and comforting.
If I want a decorative finish, I drag the back of a spoon lightly across the surface to create subtle swirls.
Texture And Flavor Notes
This butter cake has a tight, fine crumb that holds together beautifully when sliced. The flavor is rich without being heavy, and the sweetness is balanced by the simple icing. Each bite delivers a buttery warmth that lingers pleasantly.
Because the structure is sturdy, the cake travels well and slices cleanly. That makes it perfect for gatherings, potlucks, and celebrations where neat presentation matters.
Storage And Shelf Life
I store the cake covered at room temperature for up to three days. The flavor actually deepens slightly by the second day as the butter settles into the crumb. If refrigerated, I let it come back to room temperature before serving to restore its soft texture.
For longer storage, I wrap unfrosted cake tightly in plastic wrap and freeze for up to two months. I thaw it overnight in the refrigerator while still wrapped to prevent condensation from making the surface sticky.
Optional Variations
While I love this cake in its pure form, small additions can create subtle variations. Adding lemon zest to the batter gives a fresh brightness. A teaspoon of almond extract alongside the vanilla adds gentle depth.
For a cinnamon twist, I sometimes stir a teaspoon of ground cinnamon into the dry ingredients. The cake remains classic but gains a warm, spiced note that pairs beautifully with the icing.
Troubleshooting Common Issues
If the cake turns out dense, the butter and sugar may not have been creamed long enough. Proper aeration is crucial for lift. Measuring flour too heavily can also weigh down the batter, so I spoon and level or weigh it for accuracy.
If the cake sinks in the center, it may be underbaked or the oven door was opened too early. Ensuring the baking powder is fresh also helps prevent structural issues.
Dry texture usually results from overbaking. Watching the cake closely in the final minutes prevents this problem.
Serving Ideas For Different Occasions
I slice this Old-School Butter Cake with Simple Icing into neat squares for casual family gatherings. For birthdays, I bake it in round pans and stack the layers with a thin layer of jam before icing the top.
Fresh berries on the side add color and brightness without overpowering the buttery base. A scoop of vanilla ice cream transforms it into a comforting dessert that feels both simple and indulgent.
This cake adapts easily to nearly any occasion because its flavor is timeless. It does not compete with other dishes on the table but still stands out on its own.
Final Thoughts
Old-School Butter Cake with Simple Icing remains one of the most dependable cakes in my kitchen. The method is straightforward, the ingredients are familiar, and the results are consistently satisfying. With careful creaming, proper mixing, and patient baking, you will have a golden butter cake that tastes like it belongs in a cherished family recipe collection.
Once you bake it and watch the icing settle into a glossy finish, you will see why this classic never fades. It delivers comfort, flavor, and reliability in every slice, making it a cake worth returning to again and again.