
Old-Fashioned Chocolate Sheet Cake with Cocoa Frosting brings back the kind of dessert that fills a kitchen with the deep scent of cocoa and warm butter long before anyone takes a bite. This is the cake I bake when I want something simple, generous, and guaranteed to please a crowd. Baked in a single sheet pan and topped with a glossy cocoa frosting that melts slightly into the warm surface, it delivers comfort in its purest form.
Sheet cakes have a special place in home baking because they are practical and unfussy. I can mix the batter in one bowl, pour it into a pan, and know that in less than an hour I will have a soft, chocolatey cake ready to frost. The texture is moist and tender, and the cocoa frosting spreads easily while the cake is still warm, forming a smooth layer that sets into a slightly fudgy finish.
This recipe is detailed so you can follow each step confidently. From measuring ingredients to pouring the frosting over the hot cake, everything is laid out clearly. If you read through and follow along, you will end up with a classic Old-Fashioned Chocolate Sheet Cake with Cocoa Frosting that tastes just like it came from a well-loved family kitchen.
Ingredients For The Chocolate Sheet Cake
For a standard 9×13 inch sheet cake, gather the following ingredients:
- 250 grams (2 cups) all-purpose flour
- 400 grams (2 cups) granulated sugar
- 50 grams (1/2 cup) unsweetened cocoa powder
- 1 teaspoon baking soda
- 1/2 teaspoon salt
- 240 ml (1 cup) unsalted butter
- 240 ml (1 cup) water
- 120 ml (1/2 cup) buttermilk, room temperature
- 2 large eggs, room temperature
- 1 teaspoon pure vanilla extract
I rely on natural unsweetened cocoa powder for that classic chocolate flavor. The buttermilk gives the cake a slight tang and reacts with the baking soda to create a soft, airy crumb. Room temperature eggs and buttermilk blend more smoothly into the batter and help the cake bake evenly.
The butter and water are heated together, which might seem unusual if you are used to creaming butter and sugar. This old-fashioned method simplifies the mixing process and produces a moist, tender cake with minimal effort.
Ingredients For The Cocoa Frosting
For the frosting that goes on while the cake is still warm, you will need:
- 120 ml (1/2 cup) unsalted butter
- 4 tablespoons unsweetened cocoa powder
- 6 tablespoons milk
- 1 teaspoon vanilla extract
- 360 grams (about 3 cups) powdered sugar
- A small pinch of salt
This frosting is poured rather than piped. It spreads easily across the surface and settles into a glossy layer. As it cools, it firms up slightly while staying soft enough to slice cleanly.
The cocoa in the frosting reinforces the chocolate flavor of the cake. A pinch of salt balances the sweetness and keeps the frosting from tasting flat.
Preparing The Baking Pan
I begin by preheating the oven to 175°C (350°F). While the oven heats, I lightly grease a 9×13 inch baking pan with butter or oil. I do not usually line it with parchment paper for this cake, since it is typically served directly from the pan.
Greasing the pan thoroughly ensures that each slice lifts out easily. I pay attention to the corners, where cake tends to stick if not properly coated.
Once the pan is ready, I set it aside and move on to preparing the batter. Having the pan prepared before mixing prevents the batter from sitting too long before baking.
Mixing The Dry Ingredients
In a large mixing bowl, I combine the flour, granulated sugar, cocoa powder, baking soda, and salt. I whisk everything together to distribute the cocoa evenly and break up any lumps.
Even mixing at this stage ensures consistent flavor and texture throughout the cake. The dry ingredients should look uniform in color, with no streaks of flour or cocoa visible.
After whisking thoroughly, I leave the bowl on the counter and turn my attention to the stovetop for the next step.
Heating The Butter And Water
In a medium saucepan, I place the butter and water over medium heat. I allow the butter to melt completely and bring the mixture just to a gentle simmer.
Once the butter is fully melted and the mixture is hot, I remove the saucepan from the heat. The hot liquid will help bloom the cocoa and dissolve the sugar when combined with the dry ingredients.
I carefully pour the hot butter and water mixture into the bowl of dry ingredients. The heat softens the cocoa powder and creates a smooth, chocolatey base.
Combining The Batter
Using a spatula or wooden spoon, I stir the hot liquid into the dry ingredients until mostly combined. The mixture will look glossy and slightly thick at this stage.
In a separate small bowl, I whisk together the buttermilk, eggs, and vanilla extract. Once smooth, I pour this mixture into the chocolate batter.
I stir gently until everything is fully incorporated. The batter should be smooth and pourable, with no visible streaks of flour. Overmixing can make the cake dense, so I stop stirring as soon as the batter looks uniform.
Baking The Cake
I pour the batter into the prepared 9×13 inch pan and spread it evenly with a spatula. The surface should be level so the cake bakes uniformly.
The pan goes onto the center rack of the preheated oven. I bake the cake for 30 to 35 minutes, checking at the 30-minute mark with a toothpick inserted into the center.
If the toothpick comes out clean or with a few moist crumbs, the cake is ready. I remove it from the oven and place the pan on a wire rack. The frosting will be added while the cake is still warm, so I do not let it cool completely.
Preparing The Cocoa Frosting
While the cake is baking or just after it comes out of the oven, I prepare the frosting. In a saucepan over medium heat, I melt the butter.
Once melted, I whisk in the cocoa powder until smooth. I then add the milk and bring the mixture to a gentle simmer while stirring continuously.
After simmering briefly, I remove the saucepan from the heat and stir in the vanilla extract and salt. I gradually add the powdered sugar, whisking until the frosting is smooth and free of lumps.
The frosting should be pourable but thick. If it seems too thin, I add a little more powdered sugar. If too thick, I stir in a small splash of milk.
Frosting The Warm Cake
With the cake still warm in the pan, I pour the cocoa frosting directly over the surface. I use a spatula to spread it evenly to the edges.
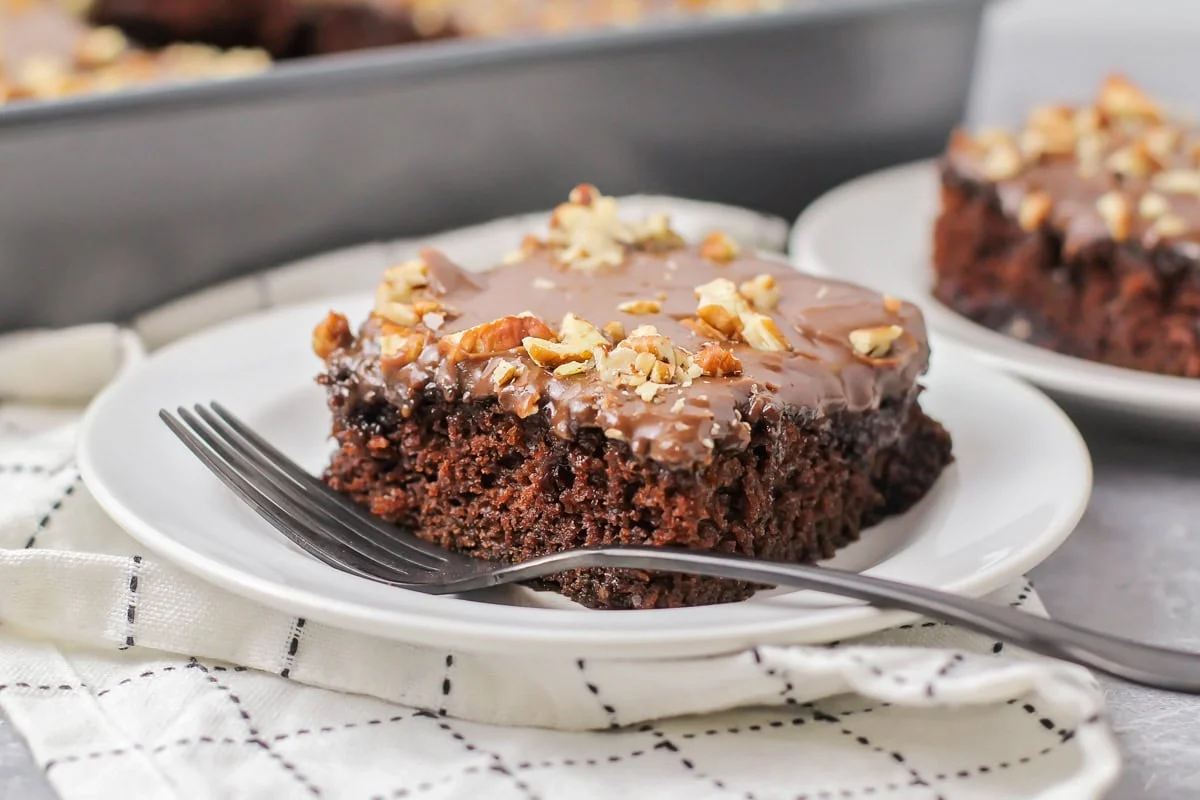
The warmth of the cake helps the frosting glide smoothly and settle into a glossy layer. As it cools, the frosting sets into a soft, fudgy topping that complements the tender crumb beneath it.
I let the cake rest at room temperature for at least 30 minutes before slicing. This allows the frosting to firm up slightly while remaining soft.
Texture And Flavor Notes
Old-Fashioned Chocolate Sheet Cake with Cocoa Frosting has a moist, tender texture that feels light yet satisfying. The cocoa in both the cake and frosting creates a deep chocolate flavor without being overpowering.
The buttermilk adds subtle tang and ensures the cake does not taste overly sweet. The frosting, slightly warm when poured, forms a smooth layer that contrasts beautifully with the soft cake underneath.
Each bite offers balanced sweetness and rich cocoa flavor. The simplicity of ingredients allows the chocolate to shine without distraction.
Serving Suggestions
I usually serve this cake straight from the pan, slicing it into generous squares. It works beautifully for birthdays, potlucks, and casual gatherings.
A scoop of vanilla ice cream on the side adds a creamy contrast to the chocolate. Fresh berries can also brighten the plate and add a bit of color.
This cake does not require elaborate decoration. Its charm lies in its straightforward presentation and comforting flavor.
Storage And Make-Ahead Tips
The cake can be stored covered at room temperature for up to three days. The frosting helps seal in moisture, so the texture remains soft even after a day or two.
If your kitchen is particularly warm, you can refrigerate the cake. I allow slices to sit at room temperature for about 20 minutes before serving so the frosting softens slightly.
This recipe also doubles well if you need to feed a larger group. Simply use a larger sheet pan and adjust baking time accordingly.
Final Thoughts
Old-Fashioned Chocolate Sheet Cake with Cocoa Frosting captures the essence of classic home baking. The method is simple, the ingredients are familiar, and the results are consistently satisfying. From mixing the batter to pouring the warm frosting over the cake, each step builds toward a dessert that feels generous and welcoming.
This cake proves that you do not need complicated techniques or fancy decorations to create something memorable. With a handful of pantry staples and a bit of care, you can bake a chocolate sheet cake that tastes rich, moist, and deeply comforting.
Follow the steps closely, measure carefully, and enjoy the process. Once you slice into this Old-Fashioned Chocolate Sheet Cake with Cocoa Frosting and see that glossy layer resting on a soft chocolate crumb, you will understand why it remains a timeless favorite in so many kitchens.