
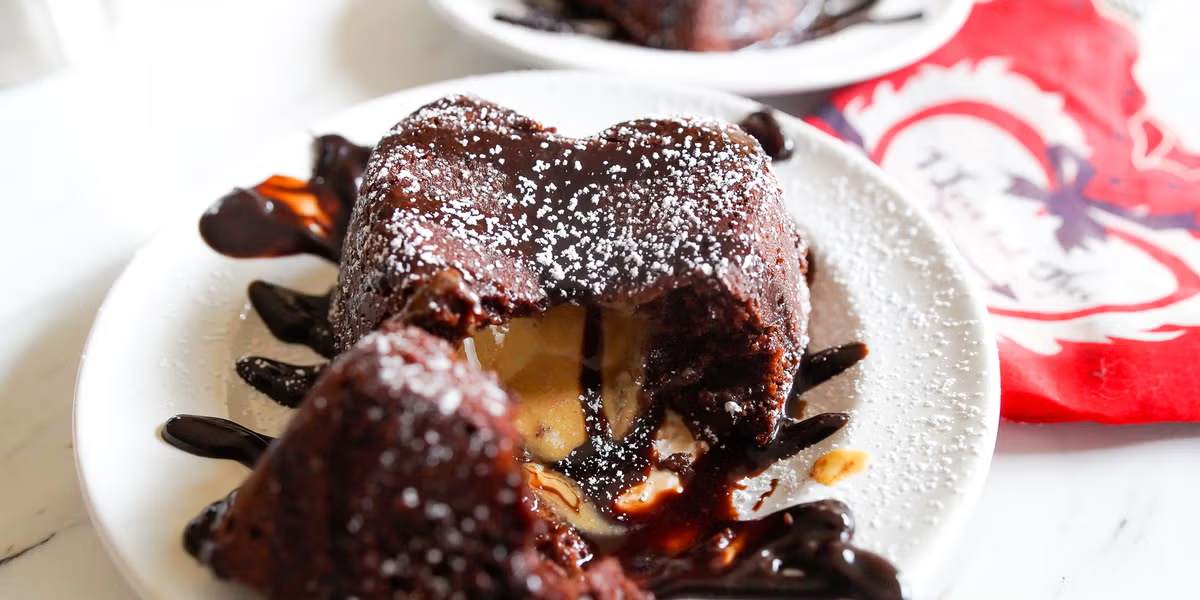
Chocolate and peanut butter belong together in a way that feels almost unfair to other flavor combinations. The deep, slightly bitter richness of chocolate melts perfectly into the salty sweetness of peanut butter, and when those two meet in cake form, the result is pure comfort. This Chocolate Peanut Butter Dream Cake is the kind of dessert I make when I want silence at the table followed by wide eyes and second helpings.
This is a real, reliable, step by step recipe that you can follow from start to finish without guessing. I will walk you through the ingredients, the mixing process, baking times, frosting, and final assembly. If you read carefully and follow along, you will end up with a tall, moist chocolate cake layered with creamy peanut butter frosting and finished with a glossy chocolate ganache that drips beautifully down the sides.
Ingredients You Will Need
Before I begin mixing, I always gather everything on the counter. This makes the process smooth and prevents mistakes halfway through. Measure accurately and use room temperature ingredients where specified for the best texture.
For the Chocolate Cake Layers:
2 cups all purpose flour
3/4 cup unsweetened cocoa powder
2 cups granulated sugar
2 teaspoons baking powder
1 1/2 teaspoons baking soda
1 teaspoon salt
2 large eggs, room temperature
1 cup whole milk, room temperature
1/2 cup vegetable oil
2 teaspoons pure vanilla extract
1 cup hot coffee or hot water
For the Peanut Butter Frosting:
1 cup unsalted butter, softened
1 1/2 cups creamy peanut butter
3 to 4 cups powdered sugar
1/4 cup heavy cream
1 teaspoon vanilla extract
Pinch of salt
For the Chocolate Ganache:
1 cup heavy cream
1 1/2 cups semi sweet chocolate chips
Optional Garnish:
Chopped peanut butter cups
Roasted salted peanuts
Chocolate shavings
Preparing The Cake Pans And Oven
I start by preheating my oven to 350°F or 175°C. Baking in a fully heated oven ensures even rise and proper structure. While the oven heats, I grease two 9 inch round cake pans with butter or baking spray and line the bottoms with parchment paper.
Lining the pans might seem like an extra step, but it guarantees that the cakes release cleanly. I also lightly dust the sides with cocoa powder instead of flour so I do not leave white streaks on the dark cake. Once the pans are ready, I set them aside and focus on the batter.
Mixing The Chocolate Cake Batter
In a large mixing bowl, I whisk together the flour, cocoa powder, sugar, baking powder, baking soda, and salt. Whisking helps break up any cocoa clumps and distributes the leavening agents evenly. This step builds the dry foundation of the cake.
In a separate bowl, I beat the eggs lightly, then add the milk, vegetable oil, and vanilla extract. I whisk until everything looks smooth and slightly creamy. Combining the wet ingredients separately helps create a uniform batter once everything comes together.
Next, I slowly pour the wet ingredients into the bowl of dry ingredients. Using a hand mixer or stand mixer on medium speed, I mix just until combined. The batter will look thick at this stage, and that is completely normal.
Now comes the secret that makes this cake incredibly moist. I carefully pour in one cup of hot coffee while mixing on low speed. The hot liquid blooms the cocoa powder and deepens the chocolate flavor. The batter becomes thin and glossy, which is exactly what I want.
Baking The Cake Layers
I divide the batter evenly between the two prepared pans. A kitchen scale helps with accuracy, but I also eyeball it if needed. I gently tap the pans on the counter to release air bubbles.
The cakes bake in the preheated oven for about 30 to 35 minutes. I begin checking at the 30 minute mark by inserting a toothpick into the center. If it comes out with a few moist crumbs but no wet batter, the cakes are ready.
Once baked, I remove the pans from the oven and let them cool for about 10 minutes. After that, I run a knife along the edges and carefully invert them onto a wire rack. The cakes must cool completely before frosting, otherwise the frosting will melt and slide.
Making The Peanut Butter Frosting
While the cakes cool, I prepare the peanut butter frosting. In a large bowl, I beat the softened butter until it becomes pale and fluffy. This usually takes about 3 to 4 minutes on medium speed, and it makes a big difference in texture.
I add the creamy peanut butter and continue beating until fully incorporated. The mixture should look smooth and slightly thicker than whipped butter. At this point, the smell alone is enough to make me want to grab a spoon.
Next, I add powdered sugar one cup at a time, mixing on low speed to avoid a sugar cloud. After two cups, I add the heavy cream, vanilla extract, and a pinch of salt. I continue adding powdered sugar until the frosting reaches a thick but spreadable consistency.
If the frosting feels too thick, I add a tablespoon of cream at a time. If it feels too soft, I add a bit more powdered sugar. The final texture should hold its shape on a spoon without being stiff.
Leveling And Layering The Cake
Once the cake layers are completely cool, I place one layer on a cake stand or serving plate. If the tops are domed, I use a serrated knife to level them. A flat surface helps the cake stack evenly and prevents leaning.
I spread a generous layer of peanut butter frosting over the first cake layer. I use an offset spatula and push the frosting all the way to the edges. The thickness of this layer gives the cake its signature richness.
Then I carefully place the second cake layer on top. I gently press down to secure it without squeezing out the filling. Any frosting that spills over the sides can be smoothed out during the crumb coat stage.
Applying A Crumb Coat
Before finishing the cake, I apply a thin crumb coat. This is a light layer of frosting that traps loose crumbs and creates a clean base for the final layer. I spread a thin coating over the top and sides of the cake, making sure everything is covered.
After the crumb coat, I place the cake in the refrigerator for about 20 to 30 minutes. Chilling firms up the frosting and makes the final layer much easier to apply. Skipping this step can result in visible crumbs in your finished cake.
Once chilled, I spread the remaining peanut butter frosting over the entire cake. I smooth the sides with a bench scraper and create soft swirls on top for texture. The cake already looks beautiful at this stage, but the ganache takes it to another level.
Making The Chocolate Ganache
For the ganache, I pour the heavy cream into a small saucepan and heat it over medium heat until it just begins to simmer. I do not let it boil because that can cause the chocolate to seize.
I pour the hot cream over the chocolate chips in a heatproof bowl. I let it sit undisturbed for about 3 to 5 minutes to allow the chocolate to melt. After that, I stir slowly from the center outward until the mixture becomes smooth and glossy.
If any small pieces remain, I microwave the mixture in 10 second bursts, stirring between each one. The finished ganache should be silky and pourable but not watery.
Pouring The Ganache And Decorating
I let the ganache cool slightly so it thickens just enough to control the drip. Using a spoon, I gently pour small amounts around the edge of the cake, allowing it to drip down naturally. Then I pour the remaining ganache on top and spread it carefully toward the edges.
At this point, I sometimes decorate with chopped peanut butter cups, roasted peanuts, or chocolate shavings. These toppings add texture and make the cake look bakery worthy. I press them lightly into the ganache before it sets.
The finished cake needs about 30 minutes at room temperature or 15 minutes in the refrigerator for the ganache to firm up. After that, it is ready to slice.
Slicing And Serving
I use a sharp knife dipped in hot water and wiped dry between each slice. This creates clean, neat cuts that show off the beautiful layers. Each slice reveals moist chocolate cake, creamy peanut butter frosting, and a glossy chocolate top.
The flavor is balanced and rich without being overwhelming. The cake is moist from the oil and hot coffee, while the peanut butter frosting adds creamy sweetness with a hint of salt. The ganache ties everything together with smooth chocolate intensity.
Storage And Make Ahead Tips
If I plan ahead, I often bake the cake layers one day in advance. Once cooled, I wrap them tightly in plastic wrap and store them at room temperature overnight. This actually makes them easier to frost the next day.
The fully assembled cake can be stored in the refrigerator for up to four days. I keep it covered in a cake container or loosely tented with foil. Before serving, I let it sit at room temperature for about 30 minutes so the frosting softens.
You can also freeze the unfrosted cake layers for up to two months. I wrap them in plastic wrap and then in foil before placing them in the freezer. Thaw them overnight in the refrigerator before using.
Troubleshooting Common Issues
If the cake sinks in the middle, it may be underbaked or the oven temperature may be off. An oven thermometer can help confirm accuracy. Always avoid opening the oven door too early, as sudden temperature changes can cause collapse.
If the frosting feels too sweet, adding a pinch more salt can balance it. Natural peanut butter is not recommended for this recipe because it can separate and affect texture. Creamy commercial peanut butter provides stability and smoothness.
If the ganache becomes too thick, I gently reheat it for a few seconds in the microwave. If it becomes too thin, I let it cool longer before pouring. Paying attention to texture makes the final presentation look polished.
Final Thoughts
Chocolate Peanut Butter Dream Cake is one of those desserts that feels celebratory and comforting at the same time. I make it for birthdays, gatherings, and even quiet weekends when I want to bake something impressive. Each step builds on the last, and by the end, you have a cake that tastes as beautiful as it looks.
Follow the measurements carefully, take your time with the frosting and ganache, and allow the cake to cool properly before decorating. With patience and attention to detail, you will have a tall, rich, bakery style cake sitting proudly on your table. One slice is satisfying, but going back for another feels almost inevitable.