
Instant Pot Carrot Cake is one of those desserts I make when I want something deeply comforting without turning on the oven. The pressure cooker creates a moist, tender crumb that feels almost bakery-level, yet the process stays surprisingly simple. I rely on the steam environment inside the pot to bake the cake evenly, locking in moisture while allowing the spices and carrots to shine.
Carrot cake has always been about balance for me. I want sweetness, but not too much. I want warmth from spices, but not a heavy hand. This Instant Pot version delivers all of that with very little effort, and the texture comes out incredibly soft thanks to the gentle pressure cooking method.
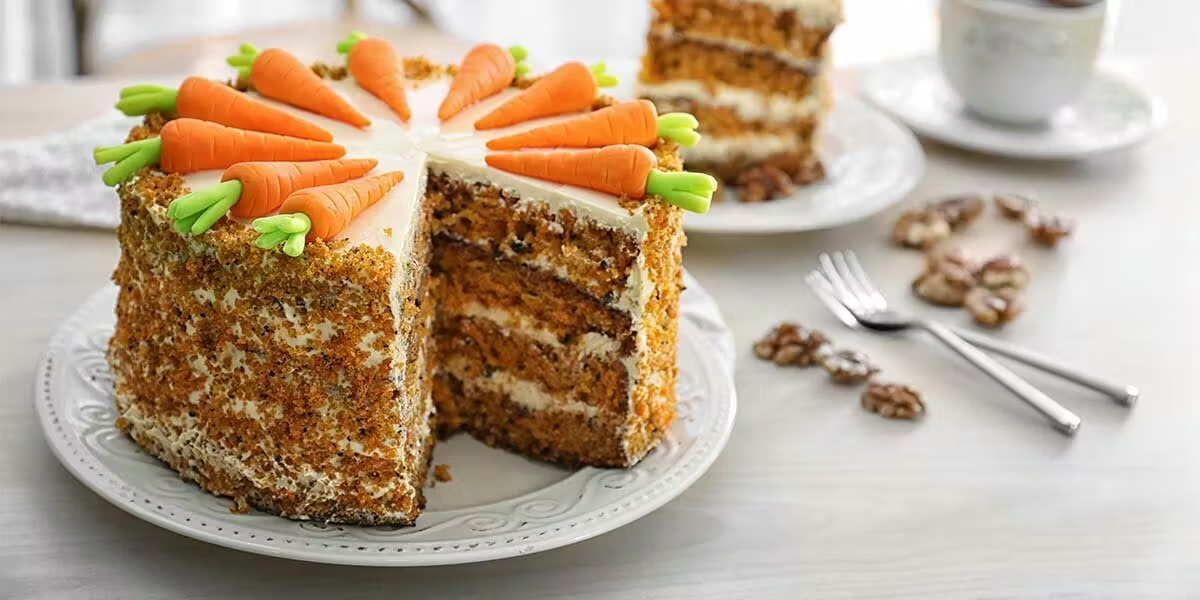
The result is a rich, fragrant cake layered with finely grated carrots, hints of cinnamon, and a smooth cream cheese frosting that melts slightly over the top. If you follow the steps carefully, you can make this cake confidently without any special baking equipment beyond your pressure cooker.
Ingredients You Will Need
I gather and measure everything before I start because pressure cooking moves quickly once the lid is sealed. Accurate measurements make the difference between a fluffy cake and one that turns dense.
For the cake:
1 1/2 cups all-purpose flour
1 teaspoon baking powder
1/2 teaspoon baking soda
1/2 teaspoon salt
1 1/2 teaspoons ground cinnamon
1/4 teaspoon ground nutmeg
2 large eggs, room temperature
3/4 cup granulated sugar
1/4 cup brown sugar
1/2 cup vegetable oil
1/4 cup plain yogurt or sour cream
1 teaspoon vanilla extract
1 1/2 cups finely grated carrots
1/3 cup chopped walnuts or pecans (optional)
1/4 cup crushed pineapple, well drained (optional but recommended for moisture)
For the cream cheese frosting:
8 ounces cream cheese, softened
3 tablespoons unsalted butter, softened
1 1/2 cups powdered sugar
1/2 teaspoon vanilla extract
1 to 2 tablespoons milk, if needed for consistency
Each ingredient plays a role. The oil and yogurt create moisture, the carrots provide natural sweetness, and the pineapple adds subtle juiciness without making the cake soggy.
Preparing The Instant Pot
I begin by pouring 1 cup of water into the bottom of the Instant Pot. This water generates the steam necessary for baking under pressure.
Next, I lightly grease a 7-inch round cake pan that fits inside the pot. I line the bottom with parchment paper to ensure easy removal later. Covering the pan tightly with aluminum foil is essential because it prevents condensation from dripping onto the cake surface during cooking.
I also place a trivet inside the pot so the cake pan sits above the water rather than directly in it.
Mixing The Dry Ingredients
In a large bowl, I whisk together flour, baking powder, baking soda, salt, cinnamon, and nutmeg. Even distribution of the leavening agents ensures the cake rises evenly.
Whisking also breaks up lumps and incorporates air into the mixture, helping create a lighter crumb.
Mixing The Wet Ingredients
In another bowl, I whisk the eggs with granulated sugar and brown sugar until the mixture looks slightly thick and pale. This step helps dissolve the sugar and creates structure.
I then add the oil, yogurt, and vanilla extract. The mixture should look smooth and glossy.
Combining Wet And Dry Ingredients
I gradually add the dry ingredients to the wet mixture, stirring gently with a spatula. Overmixing can make the cake dense, so I mix only until the flour disappears.
Once the batter looks uniform, I fold in the grated carrots. If I am using nuts and pineapple, I fold them in at this stage as well.
The batter will be moderately thick but still pourable.
Filling The Cake Pan
I pour the batter into the prepared cake pan and smooth the top with a spatula. I tap the pan gently on the counter to remove any large air bubbles.
After that, I cover the pan tightly with aluminum foil to protect the surface during pressure cooking.
Pressure Cooking The Cake
Using foil slings or heat-safe handles, I carefully lower the cake pan onto the trivet inside the Instant Pot.
I secure the lid and set the valve to sealing. I cook on high pressure for 35 minutes. After the cooking time ends, I allow a natural pressure release for 10 minutes before carefully turning the valve to release any remaining pressure.
Once the lid is opened, I remove the cake pan carefully. Steam will be present, so I handle it with caution.
To test doneness, I insert a toothpick into the center. If it comes out clean or with a few crumbs, the cake is ready. If needed, I can pressure cook for an additional 5 minutes.
Cooling The Cake
I remove the foil and let the cake cool in the pan for about 15 minutes. Then I gently loosen the edges with a knife and transfer the cake to a wire rack.
The cake must cool completely before frosting. If it is even slightly warm, the frosting will melt and slide off.
The texture at this stage is incredibly moist and tender.
Preparing The Cream Cheese Frosting
In a mixing bowl, I beat softened cream cheese and butter together until smooth. I do this with a hand whisk or sturdy spatula since the quantities are small.
I gradually add powdered sugar and mix until smooth and creamy. A splash of vanilla enhances the flavor. If the frosting feels too thick, I add a tablespoon of milk at a time until it reaches a spreadable consistency.
The frosting should be creamy but not runny.
Frosting The Cake
Once the cake is completely cool, I spread the cream cheese frosting evenly over the top. Sometimes I frost just the top for a rustic look, and other times I slice the cake horizontally to create two thin layers and frost the middle as well.
A sprinkle of chopped nuts on top adds texture and a beautiful finish.
Texture And Flavor
Instant Pot Carrot Cake turns out remarkably moist due to the steam environment. The crumb stays soft for days, and the carrots blend seamlessly into the batter.
The cinnamon and nutmeg create warmth without overpowering the natural sweetness of the carrots. The cream cheese frosting adds tanginess that balances everything perfectly.
The pineapple, if used, disappears into the cake but enhances moisture subtly.
Tips For Success
Finely grating the carrots ensures they cook evenly and blend into the batter. Thick shreds may create uneven texture.
Always cover the pan tightly with foil. Condensation can drip from the lid, and covering prevents sogginess on the surface.
Allowing natural pressure release helps the cake finish cooking gently and prevents sudden temperature changes that could cause sinking.
Storage Instructions
I store leftover cake in an airtight container in the refrigerator for up to five days. The cream cheese frosting requires refrigeration for food safety.
Before serving, I let slices sit at room temperature for about 20 minutes to soften slightly. The flavor becomes more pronounced as it warms.
The unfrosted cake can also be frozen tightly wrapped for up to two months.
Flavor Variations
For a tropical twist, I add shredded coconut to the batter. A bit of orange zest brightens the spice profile beautifully.
If I want a deeper flavor, I replace some of the granulated sugar with additional brown sugar. This creates a slightly caramel-like note.
Raisins can be folded into the batter for added sweetness and texture.
Why The Instant Pot Method Works
The sealed pressure environment traps steam, which prevents the cake from drying out. This method is especially useful in warm weather when I prefer not to heat the kitchen with the oven.
The steady, enclosed heat ensures even cooking throughout the cake. Unlike stovetop steaming, pressure cooking speeds up the process and produces consistent results.
The result is a moist carrot cake with minimal effort and reliable texture.
Final Thoughts
Instant Pot Carrot Cake proves that traditional oven baking is not the only way to create a tender, flavorful dessert. With a simple batter and straightforward steps, this recipe delivers rich texture and warm spice in every bite.
By following the measurements and pressure cooking times carefully, you can confidently prepare a moist carrot cake topped with smooth cream cheese frosting. This method transforms a classic dessert into something approachable and convenient without sacrificing flavor or quality.