
Skillet Chocolate Cake On The Stovetop is my answer to intense chocolate cravings without turning on the oven. I rely on a heavy pan, a tight-fitting lid, and a gentle flame to produce a cake that is moist, rich, and deeply chocolatey. The method feels almost old-fashioned, yet the results are surprisingly modern and satisfying.
I enjoy this recipe because it proves that baking does not always require an oven. A stovetop can create steady, controlled heat that mimics baking conditions if handled properly. With careful timing and a bit of patience, the cake rises beautifully and develops a soft crumb with a delicate crust along the edges.
The texture falls somewhere between a traditional layer cake and a brownie. The center stays tender and slightly fudgy, while the outer edge forms a subtle crust from direct contact with the skillet. Each slice carries bold cocoa flavor balanced with just enough sweetness to make it irresistible.
Ingredients You Will Need
I measure all ingredients before heating the pan so the process flows smoothly. Precision matters because stovetop baking depends on consistent structure and balanced moisture.
1 cup all-purpose flour
1/2 cup unsweetened cocoa powder
3/4 cup granulated sugar
1/4 cup brown sugar
1 teaspoon baking powder
1/2 teaspoon baking soda
1/2 teaspoon salt
2 large eggs at room temperature
1/2 cup whole milk at room temperature
1/4 cup neutral oil such as sunflower or vegetable oil
1/4 cup melted butter, slightly cooled
1 teaspoon vanilla extract
1/2 cup hot water or hot brewed coffee
Optional additions:
1/2 cup chocolate chips
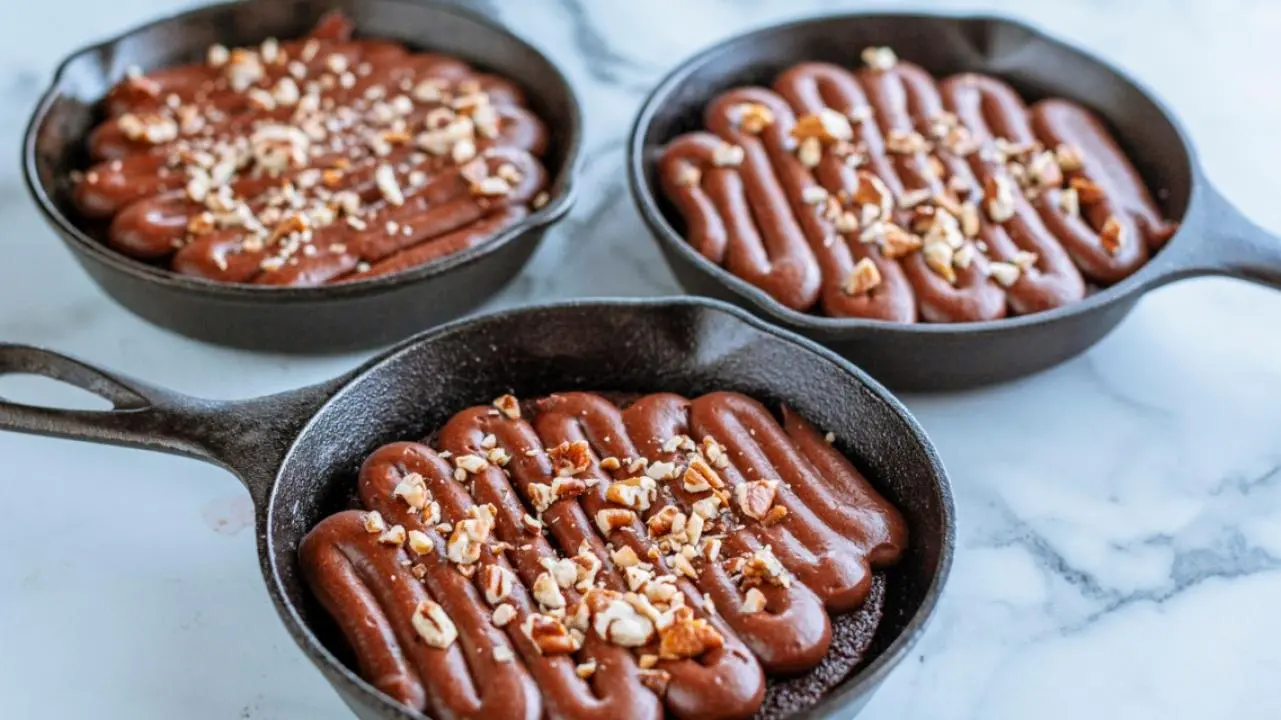
1/4 cup chopped nuts
Flour provides structure while cocoa delivers deep chocolate flavor. The combination of baking powder and baking soda ensures lift even in a covered skillet. Oil and butter together create moisture and richness without making the cake heavy.
Choosing The Right Skillet And Lid
I use a heavy-bottomed skillet that distributes heat evenly. A cast-iron or thick stainless steel pan works best because thin pans can cause hot spots and uneven cooking. The diameter I prefer is about 8 to 10 inches, which produces a cake thick enough to stay moist.
The lid is just as important as the pan. It must fit tightly to trap steam and create an oven-like environment. If the lid has a small vent hole, I cover it loosely with foil to prevent excess heat from escaping.
To prevent direct burning, I sometimes place a metal trivet or flat heat diffuser inside the skillet before pouring in the batter. This creates a slight buffer between flame and cake, encouraging even cooking.
Preparing The Skillet
I lightly grease the skillet with butter or oil and line the bottom with a circle of parchment paper. Even though the cake bakes in the pan, I still want clean release after cooking. The parchment makes removal easier and prevents sticking.
After greasing, I preheat the empty skillet over very low heat for about two minutes. This gentle warming helps the batter start cooking evenly as soon as it goes in. I never let the pan get hot, since excessive heat can cause the bottom to burn before the center cooks.
Mixing The Dry Ingredients
In a large bowl, I whisk together flour, cocoa powder, granulated sugar, brown sugar, baking powder, baking soda, and salt. I make sure the cocoa has no lumps because they can create dry pockets in the cake.
Whisking thoroughly distributes the leavening agents evenly. This step ensures the cake rises consistently throughout instead of forming uneven domes.
Combining The Wet Ingredients
In a separate bowl, I beat the eggs lightly until smooth. I add milk, oil, melted butter, and vanilla extract, then whisk until fully blended.
The mixture should look glossy and uniform. Using both oil and butter keeps the crumb soft while maintaining rich flavor. Oil contributes moisture, and butter adds depth.
Bringing The Batter Together
I pour the wet mixture into the bowl of dry ingredients. Using a spatula, I fold gently until most of the flour is incorporated.
Next, I add the hot water or coffee in a steady stream while stirring. The batter becomes thinner and smoother at this stage. Hot liquid blooms the cocoa powder, intensifying its flavor and creating a silky texture.
If I am adding chocolate chips or nuts, I fold them in gently. The final batter should be pourable but not watery.
Pouring The Batter Into The Skillet
I reduce the heat to its lowest possible setting before pouring in the batter. A very gentle flame is crucial for stovetop baking.
I pour the batter into the prepared skillet and smooth the surface with a spatula. The layer should be even so the cake cooks uniformly.
After pouring, I tap the skillet lightly on the counter to release trapped air bubbles. Then I immediately cover it with the tight-fitting lid.
Cooking The Cake On The Stovetop
The cake cooks over very low heat for approximately 30 to 40 minutes. I avoid lifting the lid for the first 20 minutes because trapped steam helps the cake rise.
After 25 minutes, I quickly check the center using a toothpick. If it comes out with wet batter, I replace the lid and continue cooking in five-minute intervals.
The top of the cake should feel set and slightly springy. The edges may pull slightly away from the sides of the skillet when done.
Patience is essential during this stage. Too much heat will burn the bottom before the center cooks, so I keep the flame low and steady.
Cooling And Removing The Cake
Once the cake is cooked, I turn off the heat and let it rest covered for about 10 minutes. This allows residual steam to finish cooking the center gently.
I remove the lid and let the cake cool further for another 10 to 15 minutes. Running a knife along the edges loosens it from the sides.
I carefully invert the skillet onto a plate and peel away the parchment paper. Then I flip the cake upright onto a serving dish.
Texture And Flavor
This Skillet Chocolate Cake On The Stovetop produces a moist, tender crumb with rich chocolate intensity. The center remains soft and slightly fudgy without being undercooked.
The edges develop a subtle crust due to contact with the heated skillet. That contrast between soft center and slightly crisp edge makes each bite interesting.
The coffee, if used, enhances the cocoa flavor without making the cake taste like coffee. It simply deepens the chocolate notes.
Simple Chocolate Glaze
For extra indulgence, I prepare a quick glaze while the cake cools. I heat 1/2 cup heavy cream until warm and pour it over 1/2 cup chopped dark chocolate.
After letting it sit for a minute, I stir until smooth. I pour the glaze over the slightly warm cake and let it drip naturally down the sides.
The glaze sets into a shiny, silky layer that complements the soft crumb.
Turning It Into A Skillet Lava Cake
If I want a molten center, I reduce the cooking time slightly by about five minutes. The middle remains gooey and rich while the outer edges stay firm.
Serving it warm with vanilla ice cream creates a dramatic dessert. The contrast between warm chocolate and cold cream is irresistible.
Flavor Variations
Adding orange zest to the batter introduces brightness that pairs beautifully with dark chocolate. A pinch of cinnamon adds subtle warmth.
Swirling peanut butter into the top before covering the skillet creates pockets of nutty richness. The combination of chocolate and peanut butter never disappoints.
For a deeper flavor, I replace part of the hot water with strong espresso. This intensifies the chocolate even further.
Common Mistakes To Avoid
Using high heat is the most common mistake. It causes the bottom to scorch while the center stays raw.
Opening the lid too often releases trapped steam and interrupts the cooking process. I check only when necessary.
Skipping parchment paper can make removal difficult. Proper preparation ensures a smooth finish.
Storage And Reheating
After the cake cools completely, I store it in an airtight container at room temperature for up to two days. Because it contains moisture, refrigeration extends its freshness to about four days.
To reheat, I warm individual slices gently in the microwave for 10 to 15 seconds. This restores softness without drying it out.
The cake also freezes well. I wrap slices individually and freeze for up to two months, thawing at room temperature before serving.
Serving Ideas
I serve this cake straight from the skillet for a rustic presentation. Dusting powdered sugar over the top adds a simple finishing touch.
Fresh berries bring brightness and contrast to the deep chocolate flavor. Whipped cream lightens the richness without overpowering it.
For special occasions, I drizzle caramel sauce over the glaze and sprinkle chopped nuts on top. The combination adds texture and visual appeal.
Why This Method Works
The tight lid traps heat and moisture, mimicking an oven environment. Gentle, steady flame ensures even cooking from bottom to top.
Balanced leavening agents provide lift even in covered conditions. The combination of oil and butter maintains moisture while delivering flavor.
Hot liquid activates cocoa and improves texture. Together, these elements produce a dependable stovetop cake.
Final Thoughts
Skillet Chocolate Cake On The Stovetop proves that a traditional oven is not the only way to bake a rich chocolate dessert. With controlled heat, a heavy pan, and patience, you can create a moist, flavorful cake entirely on the stovetop.
This method feels practical and comforting, especially on days when turning on the oven is not ideal. The result is a chocolate cake that is tender, indulgent, and deeply satisfying, all made with simple tools and ingredients you likely already have in your kitchen.